Step-by-step instructions
Making this cheesecake is straightforward and fun! Just follow these simple steps:
- Preheat your oven to 325°F (163°C).
- In a medium bowl, mix together the graham cracker crumbs, 1/4 cup of sugar, and melted butter until combined. Press this mixture firmly into the bottom of a 9-inch springform pan to form the crust.
- In a large bowl, beat the softened cream cheese and 1 cup of sugar until smooth and creamy.
- Add the eggs one at a time, mixing well after each addition. Stir in the vanilla extract.
- Layer it up: Pour half of the cream cheese mixture over the crust and spread it evenly.
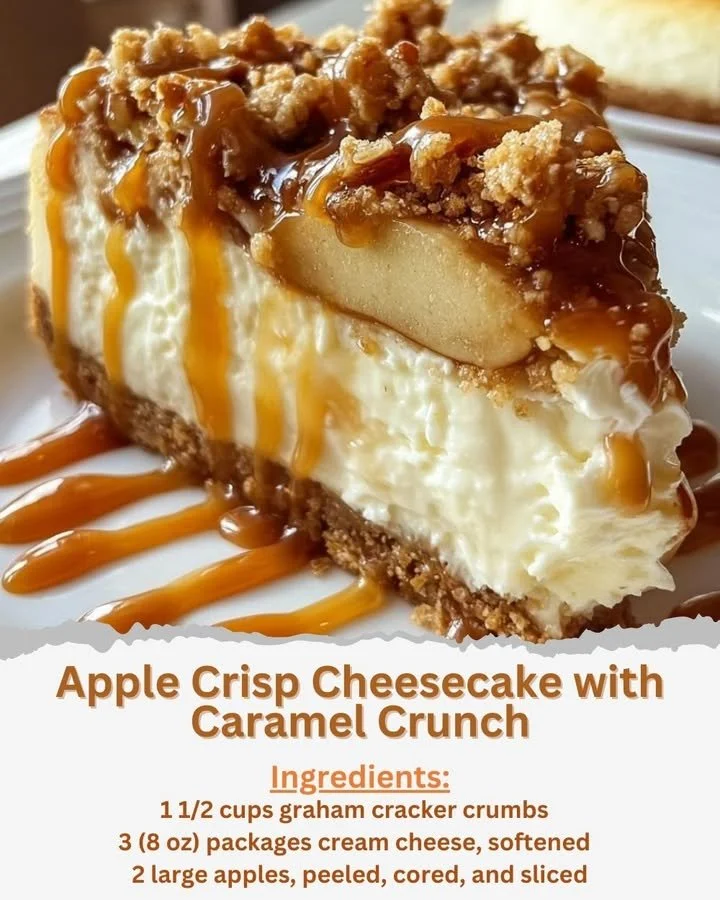
- Arrange the sliced apples over the cream cheese layer, sprinkling them lightly with cinnamon and nutmeg.
- Pour the remaining cream cheese mixture over the apples, smoothing the top with a spatula.
- In a small bowl, combine the flour, oats, brown sugar, and cold cubed butter. Mix until crumbly.
- Sprinkle this crumb topping evenly over the cheesecake.
- Bake for 55-65 minutes, until the center is set but still slightly jiggly.
- Remove from the oven and allow it to cool completely. Refrigerate for at least 4 hours or overnight.
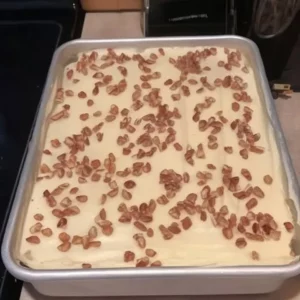
- Before serving, drizzle caramel sauce over the top and sprinkle with chopped pecans for a delightful crunch.
Best ways to enjoy it
Serving your Apple Crisp Cheesecake with Caramel Crunch is where the fun begins! Here are some creative ideas to enhance your presentation and dining experience:
- Plate with flair: Serve each slice with a drizzle of extra caramel sauce and a dollop of whipped cream for a touch of decadence.
- Pair with coffee: This cheesecake complements a warm cup of coffee or spiced chai tea beautifully, making for a delightful dessert pairing.
- Add a scoop: Consider offering a scoop of vanilla ice cream on the side, as the warmth of the cheesecake contrasts delightfully with the cool ice cream.
Storage and reheating tips
To keep your Apple Crisp Cheesecake fresh and delicious:
- Refrigeration: Store any leftovers tightly covered in the refrigerator for up to five days.
- Freezing: To freeze, carefully wrap slices in plastic wrap, then place them in an airtight container. They can be frozen for up to three months. Thaw them overnight in the refrigerator before serving.
- Safety first: Always ensure your cheesecake is cooled completely before refrigerating or freezing, to prevent condensation.
Helpful cooking tips
Here are a few insider tips to elevate your baking game:
- Room temperature cream cheese: Ensure your cream cheese is at room temperature before mixing. This will help achieve a smoother filling, free of lumps.
- Don’t overmix: Once you add the eggs, mix just until combined to prevent the cheesecake from cracking during baking.
- Apple prep: Don’t skip the spicing! A sprinkle of cinnamon and nutmeg enhances the apple flavor and gives that comforting fall vibe.
Creative twists
Looking to mix things up? Here are some variations you can try:
- Fruit fusion: Swap the apples for pears or berries for a different flavor profile.
- Nuts about nuts: Add chopped walnuts or almonds along with the pecans for a mix of crunchy goodness.
- Cheesecake without crust: For a gluten-free option, skip the crust and simply pour the cheesecake mixture directly into the pan, garnishing with the apple and crumble layer on top.
Common questions
How long does it take to prepare?
The active prep time is around 30 minutes, but you’ll need to allow for baking and cooling time, so plan for a full day if you want it chilled before serving!
Can I use low-fat cream cheese?
Yes, you can substitute low-fat cream cheese, but keep in mind that it may affect the creaminess of the cheesecake.
Is this recipe suitable for freezing?
Absolutely! Just be sure to wrap it properly to prevent freezer burn. Enjoy it later by letting it thaw in the fridge overnight.
With these easy instructions and tips, your Apple Crisp Cheesecake with Caramel Crunch is sure to be a hit. Happy baking!