Step-by-step instructions
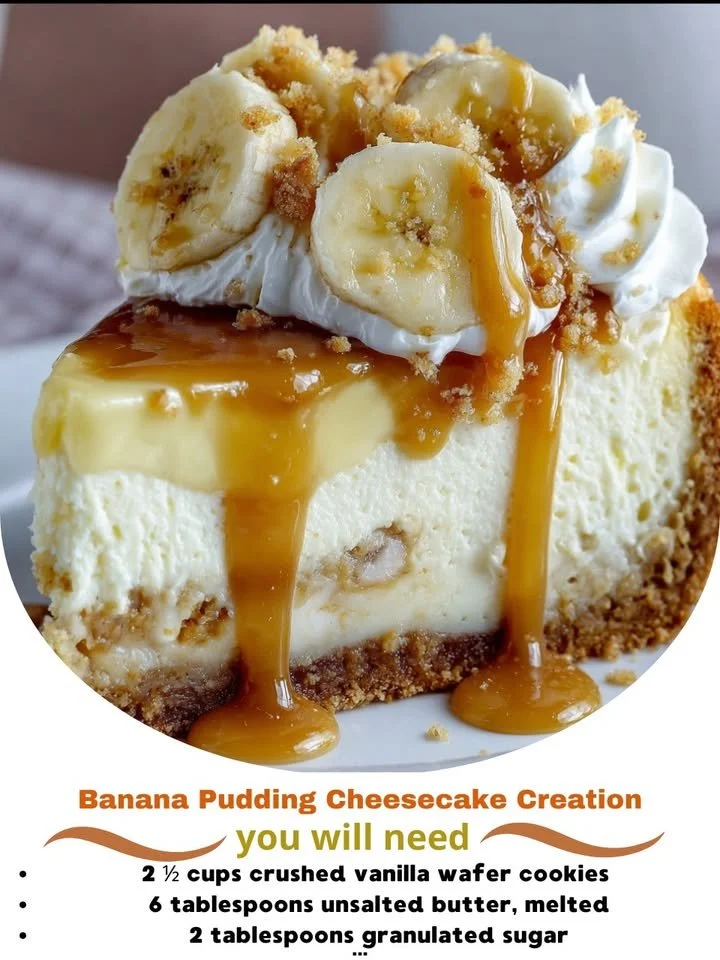
Preheat your oven to 350°F (175°C). In a mixing bowl, combine the melted butter, crushed vanilla wafers, and granulated sugar until well mixed. Press this mixture firmly into the bottom of a springform pan to form the crust. Bake for 10 minutes, then set aside to cool.
In another bowl, beat the softened cream cheese until it’s smooth and creamy. Gradually add in the powdered sugar and vanilla extract, mixing until the ingredients are fully incorporated.
Carefully fold in the whipped heavy cream until just combined. To assemble, layer half of the banana pudding over the cooled crust, then add half of the cream cheese mixture and half of the sliced bananas. Repeat these layers for a delicious finish.
Chill the cheesecake in the refrigerator for at least 4 hours or overnight—this allows the flavors to meld beautifully.
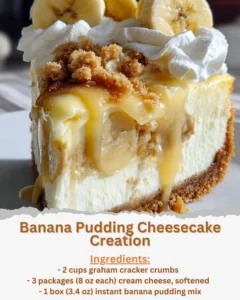
Before serving, garnish with additional vanilla wafers and banana slices for that extra touch. Enjoy every bite!
How to serve Banana Pudding Cheesecake Creation
For an eye-catching presentation, slice the cheesecake into wedges and serve on individual plates topped with a dollop of whipped cream and a sprinkle of crushed vanilla wafers. Add a side of fresh berries for a pop of color and a hint of tartness that pairs wonderfully with the creamy cheesecake. This dessert can also be served alongside a warm cup of coffee or tea, making it perfect for any occasion!
Keeping leftovers fresh
Storing your Banana Pudding Cheesecake properly is key to maintaining its deliciousness. Place any leftover cheesecake in an airtight container and store it in the refrigerator, where it will stay fresh for up to 5 days. If you prefer to keep it longer, consider freezing it; slice the cheesecake beforehand and wrap individual pieces in plastic wrap, followed by aluminum foil for added protection. Thaw in the refrigerator overnight before enjoying again.
Pro chef tips
Here are some practical tips to ensure your cheesecake turns out perfectly:
- Use room temperature cream cheese for a smoother filling—this will prevent lumps in your mixture.
- For added flavor, consider swirling in a bit of caramel or chocolate sauce between the layers.
- Be patient while chilling—it’s worth the wait! The cheesecake’s flavors deepen and meld beautifully when allowed to set overnight.
Creative twists
Feel free to experiment with this recipe! Try using different flavors of instant pudding such as chocolate or vanilla for a unique spin. You can also substitute fresh sliced strawberries or peaches for the banana layers, creating a completely new flavor profile. For an adult version, adding a splash of rum or bourbon to the cream cheese mixture can elevate the flavor to new heights.
Your questions answered
How long does it take to make this cheesecake?
The total prep time is about 30 minutes, plus at least 4 hours of chilling time, so plan accordingly!
Can I make this cheesecake in advance?
Absolutely! This cheesecake is perfect for making a day ahead, allowing the flavors to meld together beautifully.
What if I have gluten-sensitive guests?
Simply swap out the vanilla wafer cookies for gluten-free options, and your cheesecake will be safe and still delicious for everyone!
With its incredible layers and delightful banana flavor, this Banana Pudding Cheesecake Creation is bound to be your next go-to dessert. Enjoy each creamy bite and share it with loved ones for the perfect sweet ending!