Step-by-step instructions
- In a mixing bowl, combine the whole wheat flour and baking powder. Whisk them together and set aside.
- In a shallow bowl, take your ripe bananas and mash them with a fork. Remember, it doesn’t need to be perfectly smooth—small lumps are just fine. Work quickly to prevent them from browning.
- In a medium or large bowl, whisk together the mashed bananas, natural yogurt, eggs, and oil until fully blended.
- Gradually incorporate the dry flour mixture into the wet ingredients. Gently whisk until just combined to keep the pancakes light and fluffy—avoid overmixing!
- Heat a large non-stick pancake pan over medium-low heat, lightly misting it with cooking spray.
- Pour spoonfuls of batter onto the pan, making about 3-4 pancakes per batch. Cook them on low heat for about 3 minutes or until bubbles form and the edges look set. Carefully flip the pancakes and cook for an additional 2 minutes.
- Once cooked, transfer the pancakes to a large bowl and keep them warm under a lid or foil until you’ve cooked all the batter. If you have leftovers, a quick zap in the microwave before serving will warm them perfectly.
Best ways to enjoy it
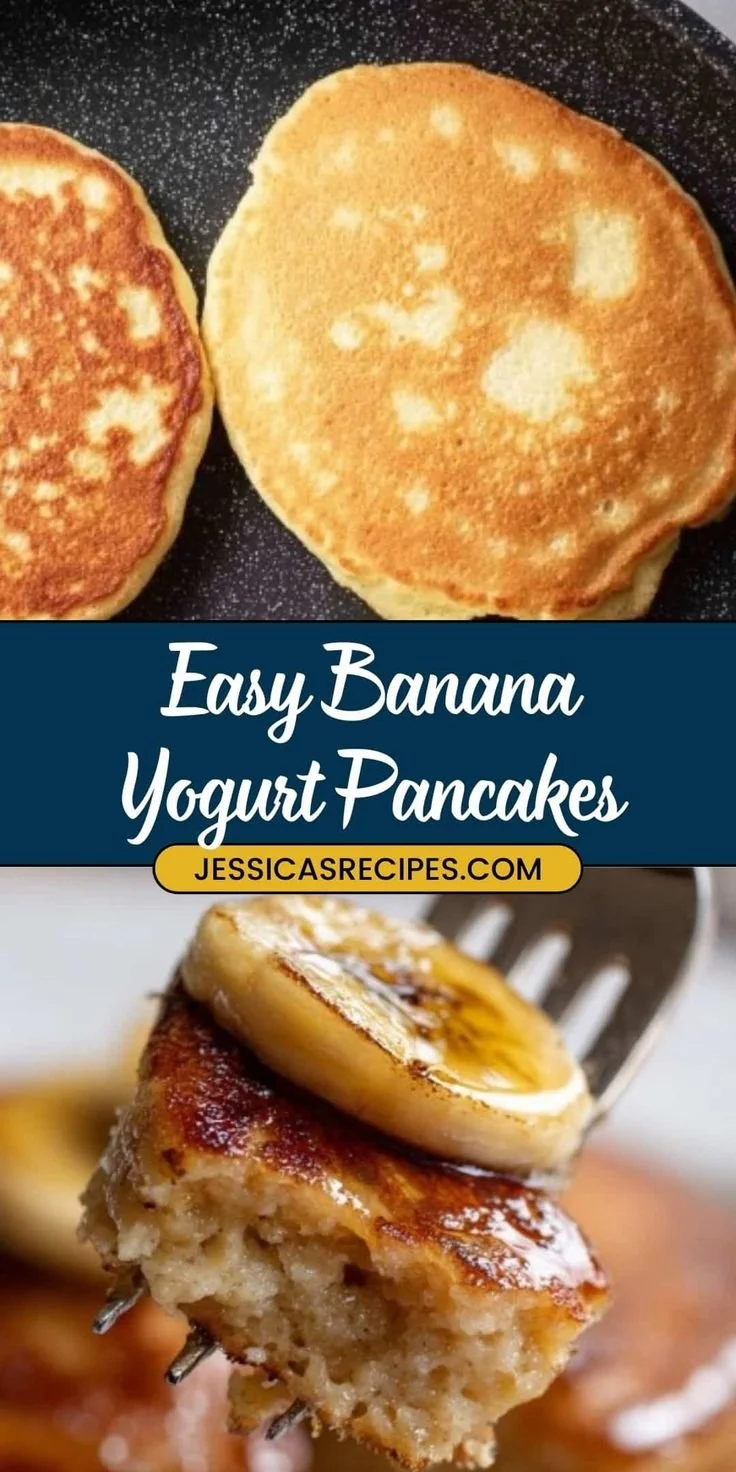
When it comes to serving your Banana Yogurt Pancakes, the possibilities are endless! Top them with a drizzle of maple syrup, a dollop of Greek yogurt, or fresh fruits like berries or sliced bananas. Sprinkle on some chopped nuts for added crunch or serve alongside crispy bacon for a sweet-and-savory combo.
How to store
If you end up with extra pancakes, storing them is simple. Allow them to cool completely before placing them in an airtight container. They can be kept in the refrigerator for up to three days. To reheat, pop them in the microwave for about 30 seconds or on a skillet for a few minutes. If you want to save them for the future, you can freeze the pancakes as well. Just layer parchment paper between them and store them in a freezer bag for up to two months.
Helpful cooking tips
To ensure your pancakes come out perfectly every time, consider using a non-stick pan and controlling the heat carefully. Cooking on medium-low heat allows the pancakes to cook through without burning the outside. Don’t forget to let the pan heating up before adding the batter—this helps achieve that delicious golden-brown color.
Creative twists
Feeling adventurous? Here are a few fun variations to try:
- Add a teaspoon of vanilla extract for an extra flavor boost.
- Stir in some chocolate chips or blueberries into the batter for a delightful surprise in each bite.
- For a healthier twist, substitute half the flour with rolled oats or almond flour.
- Top with your favorite nut butter for a rich and satisfying breakfast.
FAQs
How long do these pancakes take to cook?
The total cooking time for Banana Yogurt Pancakes is approximately 15-20 minutes from mixing to serving, depending on how many batches you are making.
Can I use other types of flour?
Absolutely! While whole wheat flour is great for added nutrition, you can use all-purpose flour or even gluten-free alternatives like almond or coconut flour.
How can I make this recipe dairy-free?
Substitute the natural yogurt with a dairy-free yogurt alternative. Just ensure it’s thick enough to add moisture to the batter.
Can I store these pancakes in the fridge?
Yes, they store well in the fridge for up to three days. Make sure they are in an airtight container for freshness.
So, the next time you find yourself with a few overripe bananas, don’t toss them—transform them into these delicious, fluffy Banana Yogurt Pancakes. Enjoy the comfort of homemade goodness!