Step-by-step instructions
Begin by preheating your oven to 350°F (175°C). Grease and flour a Bundt or large tube pan thoroughly to ensure easy release of the cake.
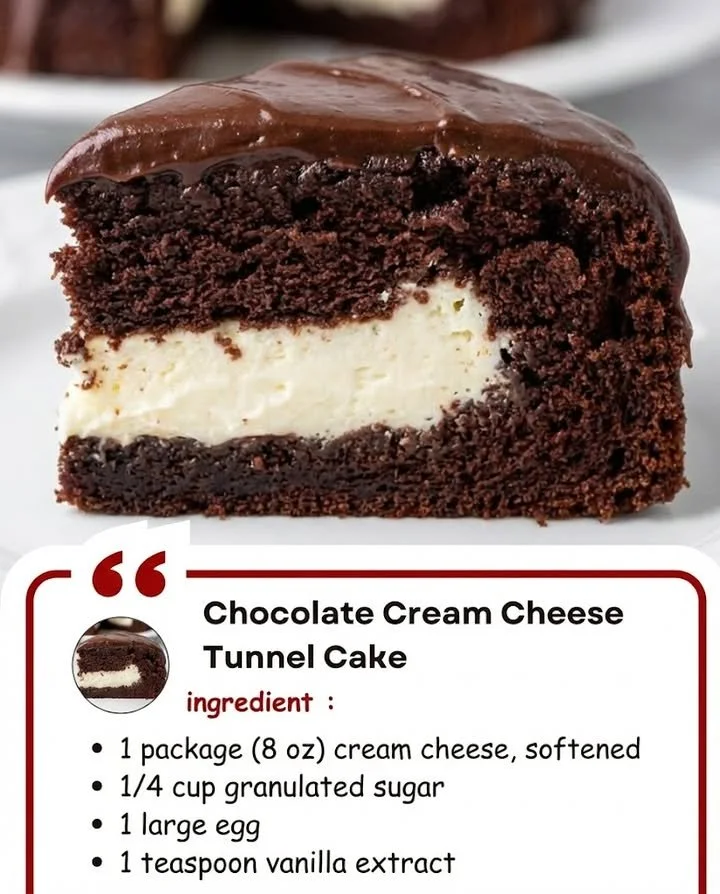
In a small bowl, beat the softened cream cheese, 1/4 cup of granulated sugar, 1 egg, and the vanilla extract until the mixture is smooth. Set aside.
In a large mixing bowl, whisk together the flour, cocoa powder, the remaining 1 1/2 cups sugar, baking soda, and salt.
Add the remaining 2 eggs, buttermilk, and vegetable oil to the dry ingredients. Mix well until combined.
Gradually stir in the boiling water to create a thin batter that is smooth in texture.
Pour about half of the cake batter into the prepared pan.
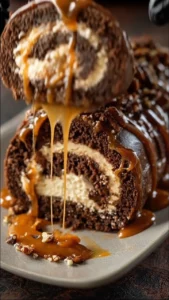
Carefully spoon the cream cheese filling over the batter, keeping it centralized and avoiding contact with the sides of the pan.
Pour the remaining chocolate cake batter over the cream cheese filling.
Bake in the preheated oven for 45–55 minutes, or until a toothpick inserted into the cake part comes out clean.
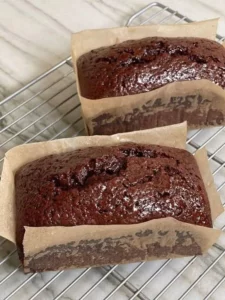
Once baked, let the cake cool in the pan for approximately 15 minutes before inverting it onto a wire rack to cool completely.
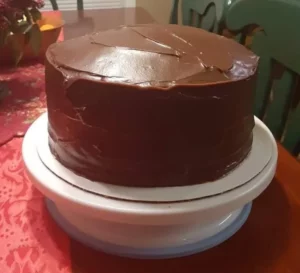
To make the chocolate ganache, microwave the cream and semi-sweet chocolate chips in 30-second intervals, stirring until you achieve a smooth consistency. Pour over the cooled cake.
Best ways to enjoy it
This Chocolate Cream Cheese Tunnel Cake is delightful on its own, but here are some serving suggestions to enhance the experience:
- Dust with powdered sugar for a simple yet elegant touch.
- Serve with a scoop of vanilla ice cream for that perfect contrast of temperatures.
- Pair it with fresh berries or raspberry sauce for a colorful and fruity balance.
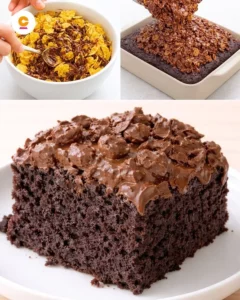
- For an extra-chocolatey experience, top with chocolate shavings or crushed nuts.
How to store
To keep your Chocolate Cream Cheese Tunnel Cake fresh:
- Store any leftovers in an airtight container at room temperature for up to 3 days or in the refrigerator for up to a week.
- If you wish to keep it longer, you can freeze slices wrapped tightly in plastic wrap and then in aluminum foil for up to 3 months. Just thaw overnight in the fridge when you’re ready to enjoy it.
Helpful cooking tips
Here are a few tips to elevate your baking:
- Make sure your cream cheese is softened to room temperature for the smoothest filling.
- For an easier mixing experience, sift your dry ingredients before combining.
- If you’re short on time, you can make the cake batter a day in advance and refrigerate it before baking. Just bring it to room temperature before pouring into the pan!
Creative twists
Want to customize your Chocolate Cream Cheese Tunnel Cake? Here are some fun variations:
- Nutty Delight: Add chopped walnuts or pecans to the chocolate batter for an added crunch.
- Flavored Cream Cheese: Mix in a tablespoon of peanut butter or hazelnut spread into the cream cheese filling for a nutty twist.
- Mint Chocolate: Add a teaspoon of peppermint extract to the batter or topping for a refreshing flavor.
- Fruity Surprise: Toss in some mini chocolate chips or fruit (like cherries or raspberries) into the cream cheese filling for extra flavor dimension.
FAQs
Can I use a different type of pan?
Absolutely! You can use two 9-inch round cake pans or a 9×13 inch pan. Just adjust the baking time accordingly.
How do I make buttermilk if I don’t have any?
Simply add 1 tablespoon of vinegar to 1 cup of milk and let it sit for about 5-10 minutes to curdle before using it in the recipe.
Can I freeze this cake?
Yes, you can freeze the cake once it has cooled completely. Wrap slices in plastic wrap, then place in a freezer bag for up to 3 months. Thaw in the refrigerator before serving.
Enjoy baking this delightful Chocolate Cream Cheese Tunnel Cake and watch it become a delightful addition to your dessert repertoire!