Step-by-step instructions
- Preheat your oven to 350°F (175°C).
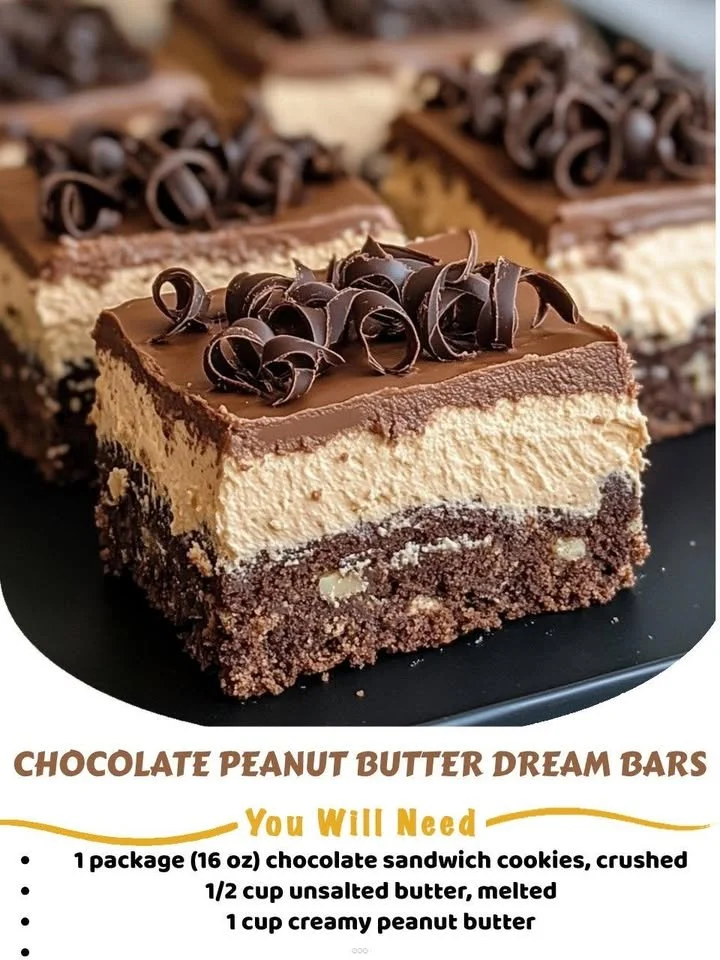
- In a mixing bowl, combine the crushed chocolate sandwich cookies and melted butter. Stir until fully mixed, then press into the bottom of a 9×13 inch baking dish to form a solid crust.
- In a separate bowl, blend the softened cream cheese, creamy peanut butter, and powdered sugar until the mixture is smooth and creamy. Gently fold in the whipped topping until everything is well incorporated.
- Spread this creamy mixture evenly over the prepared crust, smoothing the top with a spatula.
- Sprinkle the chopped chocolate or chocolate chips generously over the top of your bars.
- Refrigerate for at least 2 hours to allow the bars to set properly.
- Once set, cut into squares and serve chilled.
Best ways to enjoy it
These Chocolate Peanut Butter Dream Bars are delightful on their own, but you can elevate the experience! Serve them alongside a scoop of vanilla ice cream for a decadent dessert. Drizzle some caramel sauce or chocolate syrup over the top for an extra touch. Pair them with fresh fruit, like strawberries or bananas, to bring a refreshing contrast to the richness of the bars.
How to store
To keep your Chocolate Peanut Butter Dream Bars fresh, store any leftovers in an airtight container in the refrigerator. They’ll stay delicious for up to 5 days — that’s if you can resist eating them all in one sitting! If you’d like to save them longer, these bars can also be frozen. Just wrap them securely in plastic wrap and then place them in a freezer-safe container. When you’re ready to enjoy them again, thaw them in the refrigerator overnight for best results.
Helpful cooking tips
- Room Temperature Ingredients: Ensure that your cream cheese is at room temperature for easy blending with peanut butter and sugar.
- Crushing Cookies: Use a food processor to crush cookies quickly and evenly, or place them in a zip-top bag and crush with a rolling pin for a good workout!
- Make Ahead: These Dream Bars are perfect for making in advance. Just prepare them the day before your event for a stress-free dessert.
Creative twists
Feel free to modify the basic recipe to suit your taste. Consider adding a layer of caramel sauce between the crust and peanut butter filling for an upgraded flavor profile. Alternatively, for a fun twist, you can use flavored sandwich cookies — think mint or even vanilla — as the crust! You can also substitute the creamy peanut butter for crunchy if you love that extra texture.

Common questions
How long does it take to prep and bake these bars?
The overall prep and chill time for these dream bars is about 2-3 hours, including a cooking time of just 10 minutes. Most of the time is spent chillin’ in the fridge!
Can I use natural peanut butter?
Absolutely! Just keep in mind that the texture may change slightly, as natural peanut butter can be more oily. Stir it well before using to combine the oil back in!
How do I know when the bars have set?
The bars should be firm to the touch, with a slight jiggle in the middle when you shake the pan after chilling. If they’re still soft, give them a bit more time in the refrigerator.
Dive into these scrumptious Chocolate Peanut Butter Dream Bars and satisfy your sweet tooth with a treat that’s undeniably delightful!