Step-by-Step Instructions
Cream the softened butter and granulated sugar together in a large bowl until the mixture is light and fluffy (this should take about 2-3 minutes).
Add the egg and vanilla extract, mixing until everything is well incorporated.
In a separate bowl, whisk together the all-purpose flour, baking powder, and salt.
Gradually mix the dry ingredients into the butter mixture until a soft dough forms.
Divide the dough in half, shape each half into discs, wrap in plastic wrap, and refrigerate for at least one hour to firm up.
Preheat your oven to 350°F (175°C) and line baking sheets with parchment paper.
Roll out the chilled dough on a lightly floured surface to a thickness of 1/4 inch.
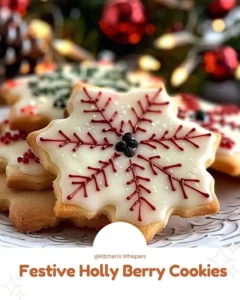
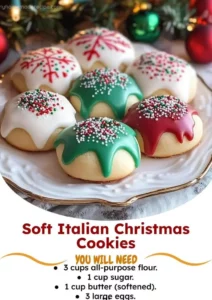
Use cookie cutters to create festive shapes, like stars, trees, and snowflakes.
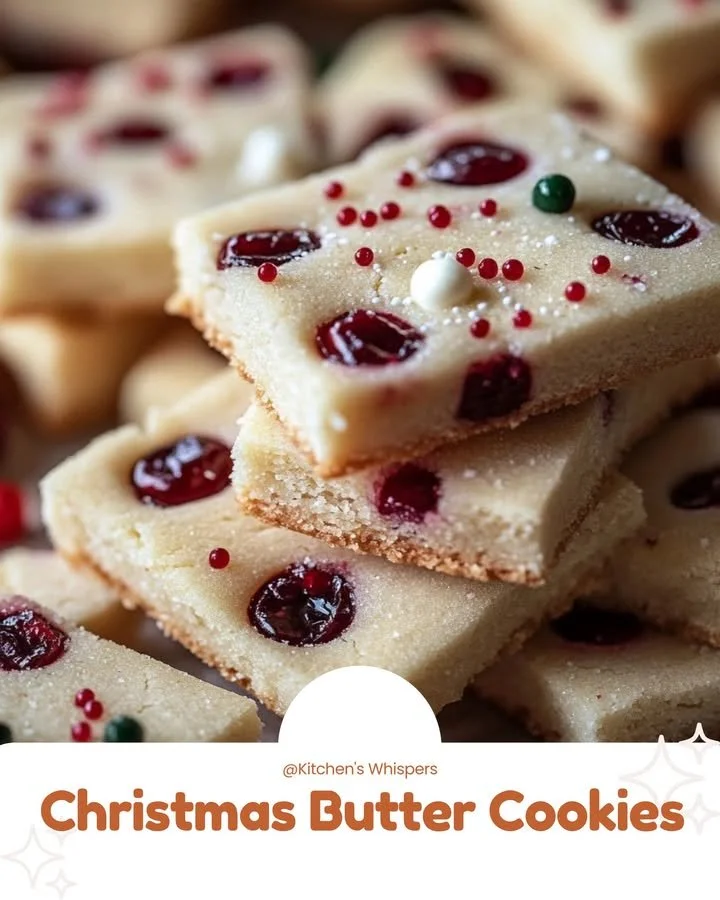
Place the shaped cookies on baking sheets and decorate with holiday sprinkles or sanding sugar.
Bake in the preheated oven for 8-10 minutes or until the edges are lightly golden.
Allow the cookies to cool on the baking sheet for about 5 minutes, then transfer to a wire rack.
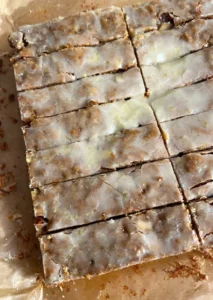
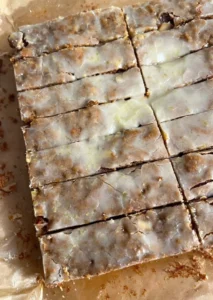
Store cookies in an airtight container for up to one week, or freeze for longer storage. For an extra holiday treat, you can dip cooled cookies in melted chocolate and sprinkle crushed candy canes on top!
Best Ways to Enjoy It
These Christmas Butter Cookies can shine on their own, but why not elevate the experience? Serve them on a festive platter, paired with a warm cup of spiced cider or creamy hot chocolate. For a delightful twist, create a cookie sandwich by adding festive frosting between two cookies. They also make a fantastic gift—package them in a decorative tin and share with friends and family.
Keeping Leftovers Fresh
Storing these cookies properly ensures that they stay delicious for as long as possible! To keep your cookies fresh, store them in an airtight container at room temperature. They can last up to a week this way. For longer storage, you can freeze them in a single layer on a baking sheet. Once frozen, transfer them to a freezer-safe container or bag, where they can last for up to three months. Remember, if you choose to freeze, allow the cookies to thaw at room temperature when you’re ready to enjoy them.
Helpful Cooking Tips
Here are some expert tips to ensure your Christmas Butter Cookies turn out perfect:
- Ensure your butter is softened properly before creaming; this helps achieve that light and fluffy texture.
- Chill the dough! This step makes it easier to handle and helps prevent spreading during baking.
- Experiment with flavors! Consider adding almond extract or a dash of nutmeg for a unique twist.
- If you want perfectly shaped cookies, use cookie cutters dipped in flour to prevent sticking.
Creative Twists
Looking to switch things up? Here are a few variations to try:
- Citrus Zest: Add lemon or orange zest for a fresh flavor kick.
- Nutty: Incorporate finely chopped nuts like walnuts or pecans into the dough.
- Chocolate-Dipped: After baking, dip half the cookie in melted chocolate for an extra indulgent treat.
- Sprouted Grains: Substitute some of the all-purpose flour with whole wheat flour for a nutty flavor and added nutritional benefits.
Your Questions Answered
What is the prep time for these cookies?
Preparing Christmas Butter Cookies takes about 20 minutes, plus an hour of refrigeration time.
Can I make these cookies ahead of time?
Absolutely! The dough can be made ahead and stored in the refrigerator for a couple of days or frozen for longer. Just thaw in the refrigerator before rolling it out.
What are some alternatives to all-purpose flour for this recipe?
You can use gluten-free all-purpose flour blends that are designed for baking, or whole wheat flour for a heartier version.
How should I store the cookies after baking?
Once baked, keep the cookies in an airtight container at room temperature for up to a week, or freeze them for future enjoyment. Always ensure they’re completely cooled before storing.
By following these simple steps and tips, you’re sure to create delightful Christmas Butter Cookies that will bring smiles to faces young and old. Enjoy the holiday spirit and happy baking!