Step-by-step instructions
Follow these easy directions to create your Christmas Snow Cloud Cocoa:
- In a small saucepan, combine the whole milk, unsweetened cocoa powder, sugar, vanilla extract, and a pinch of salt. Whisk the ingredients together until well blended.
- Place the saucepan over medium heat, stirring constantly until the mixture is hot but not boiling. This will infuse the flavors beautifully.
- Once hot, remove the saucepan from the heat and pour your cocoa into festive mugs.
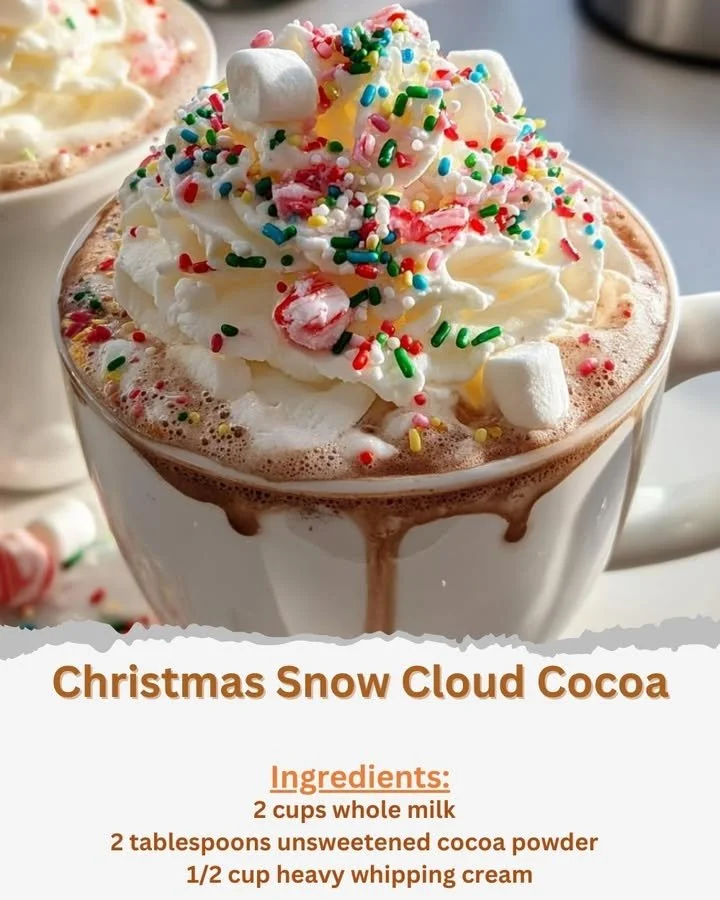
- In a separate bowl, whip the heavy cream with the powdered sugar until soft peaks form, resembling a fluffy cloud.
- Generously spoon the whipped cream on top of each cup of cocoa, adding a delightful touch of creaminess.
- Finally, garnish your cocoa with mini marshmallows and a sprinkle of crushed candy canes for that extra festive flair.
Best ways to enjoy it
To elevate your Christmas Snow Cloud Cocoa experience, consider these serving suggestions:
- Pair it with freshly baked cookies for a delightful treat that’s sure to satisfy.
- Serve alongside gingerbread houses for a fun holiday activity with family or friends.
- Enjoy it with a side of popcorn for a cozy movie night at home.
Storage and reheating tips
If you find yourself with leftovers (though unlikely!), here are some storage tips:
- Refrigerate: Store any cocoa in an airtight container in the fridge for up to 2 days.
- Reheat: Gently warm on the stove over low heat or in the microwave in short intervals, ensuring it doesn’t boil.
- Avoid freezing: The whipped cream can separate when frozen, so it’s best to whip fresh cream for serving.
Helpful cooking tips
Here are some tricks to ensure your cocoa turns out perfectly every time:
- Use high-quality cocoa powder for a more intense chocolate flavor.
- Whip the cream just until soft peaks form to avoid a grainy texture.
- For a richer drink, try adding a dash of espresso powder to enhance the chocolate.
Creative twists
Want to mix things up? Here are some variations to try:
- Minty Delight: Add peppermint extract to the cocoa base for a minty twist.
- Spicy Cocoa: A pinch of cinnamon or nutmeg adds warmth and depth.
- Nutty Flavor: Almond or hazelnut milk in place of regular milk creates a unique flavor profile.
FAQs
How long does it take to prepare Christmas Snow Cloud Cocoa?
The prep time is about 10 minutes, and with the easy steps, it’s ready to enjoy in no time!
Can I make it dairy-free?
Absolutely! Substitute the whole milk with almond milk or coconut milk, and the heavy cream with coconut cream for a delicious dairy-free version.
How do I store any leftovers?
If you have cocoa left, store it in an airtight container in the refrigerator for up to 2 days. Simply reheat before serving!
This Christmas Snow Cloud Cocoa recipe is not just a beverage; it’s a warm hug in a cup, perfect for celebrating the joyous season with family and friends. Enjoy making it and even more so, enjoy sipping on it!