Directions to Follow
Now that you have your ingredients ready, let’s get baking! Follow these steps for a beautifully baked red velvet cake:
- Preheat your oven to 350°F (175°C) and grease and flour three 8-inch round cake pans.
- In a large bowl, sift together the flour, sugar, baking soda, salt, and cocoa powder.
- In another bowl, whisk together the vegetable oil, buttermilk, eggs, red food coloring, vanilla extract, and white vinegar.
- Gradually incorporate the wet ingredients into the dry ingredients, mixing until smooth.
- Divide the batter evenly among the prepared pans.
- Bake for 25-30 minutes, or until a toothpick inserted into the center of each cake comes out clean.
- Let the cakes cool in the pans for 10 minutes, then transfer them to a wire rack to cool completely.
- In a mixing bowl, beat together the cream cheese and butter until smooth.
- Gradually add the powdered sugar, one cup at a time, thoroughly mixing after each addition.
- Stir in the remaining vanilla extract.
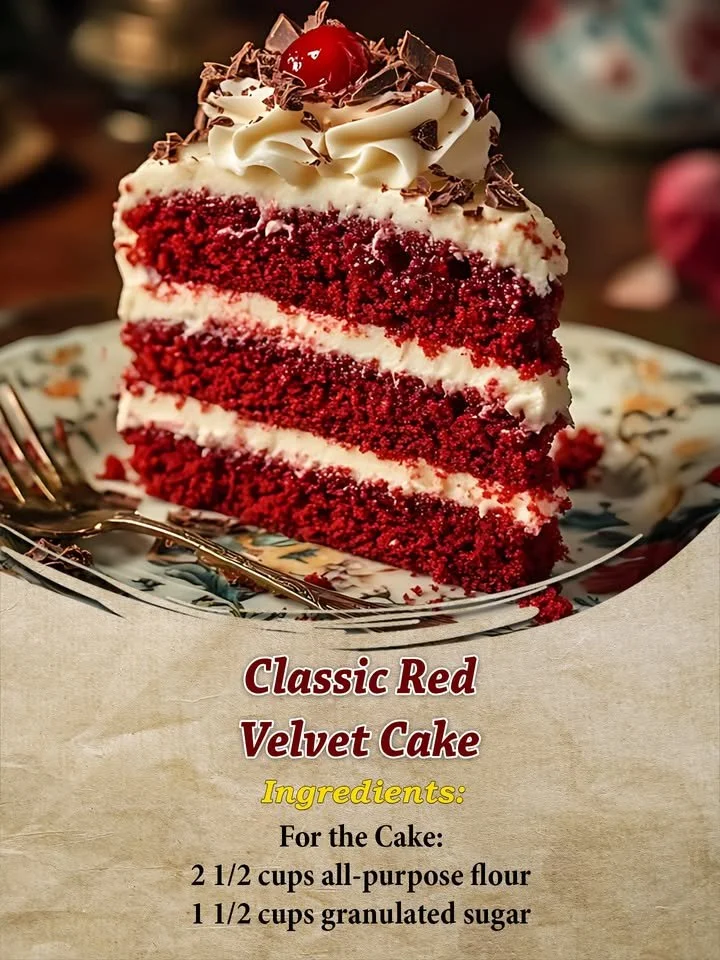
- Place one cake layer onto a serving platter and spread frosting on top. Repeat with the second and third layers, frosting the sides and top of the entire cake.
- If desired, garnish with red velvet crumbs and/or chocolate shavings.
Best Ways to Enjoy It
Serving a classic red velvet cake isn’t just about presentation; it’s also about the experience! Here are some suggestions:
- Garnish: Add a drizzle of chocolate sauce or a sprinkle of cocoa powder on the plate for an elegant touch.
- Beverage Pairing: Serve with a glass of chilled milk, sweet tea, or even a bold cup of coffee to balance the sweetness.
- Serving Size: Cut smaller slices for parties, allowing guests to sample this delightful dessert alongside other treats.
How to Store & Freeze
After you’ve indulged in your delicious red velvet cake, you might have some leftovers. Here’s how to keep them fresh:
- Refrigerate: Store leftover cake in an airtight container in the refrigerator for up to 5 days. For best results, separate layers with parchment paper.
- Freeze: You can also freeze the cake. Wrap individual slices in plastic wrap and foil to protect against freezer burn. It can be stored for up to 3 months.
- Ensure to thaw the slices in the refrigerator overnight before enjoying!
Helpful Cooking Tips
Here are some pro tips to ensure your red velvet cake turns out perfectly:
- Room Temperature Ingredients: Make sure your eggs and buttermilk are at room temperature; this creates a smoother batter.
- Don’t Overmix: When combining the wet and dry ingredients, stir just until everything is combined for a light, tender cake.
- Oven Thermometer: Use an oven thermometer to verify that your oven is calibrated accurately, as even small discrepancies can affect baking times.
Creative Twists
Want to change things up a bit? Here are some variations on the classic red velvet cake:
- Add Chocolate: Incorporate chocolate chips into the batter for an extra rich texture.
- Lemon Zest: A teaspoon of lemon zest in the frosting can provide a refreshing contrast to the sweetness.
- Try Different Frostings: Swap cream cheese frosting for a whipped chocolate or vanilla buttercream for a different flavor/profile.
- Add Nuts: Chopped pecans or walnuts can add a delightful crunch if you like a bit of texture.
Common Questions
1. Can I make red velvet cake a day ahead?
Absolutely! This cake actually tastes better the next day as the flavors meld together. Store it properly in the fridge until you’re ready to serve.
2. What can I use instead of buttermilk?
You can create a buttermilk substitute by mixing milk with a tablespoon of lemon juice or vinegar. Let it sit for a few minutes to curdle before using.
3. How long can I store leftover cake?
Leftovers will keep fresh in the refrigerator for about 5 days. If you want to store it longer, consider freezing slices. They can last for up to 3 months when properly wrapped.
Now you’re all set to create a show-stopping classic red velvet cake that will delight friends and family alike. Happy baking!