Step-by-step instructions
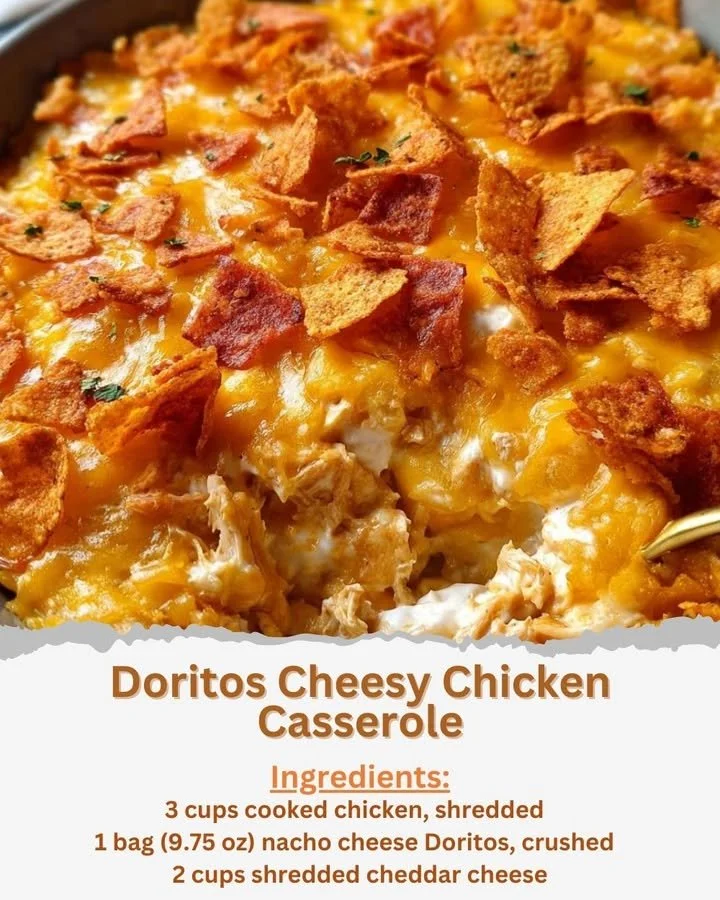
Follow these simple steps to create your Doritos Cheesy Chicken Casserole:
- Preheat your Oven: Set the temperature to 350°F (175°C) to prepare for baking.
- Mix the Base: In a large bowl, combine the sour cream, cream of chicken soup, milk, garlic powder, salt, and pepper. Stir until the mixture is smooth and well-combined.
- Add the Chicken and Cheese: Incorporate the shredded chicken, half of the shredded cheddar cheese, and chopped green onions into the bowl. Mix gently to combine.
- Fold in the Doritos: Carefully fold in the crushed Doritos, reserving about 1 cup for the topping. This will give your casserole an irresistible crunch!
- Assemble the Casserole: Transfer your mixture to a greased 9×13-inch baking dish, spreading it evenly across the bottom.
- Top it Off: Sprinkle the remaining cheddar cheese and reserved crushed Doritos over the top for that perfect golden-brown finish.
- Bake: Place the dish in your preheated oven and bake for 25-30 minutes, or until the casserole is bubbly and the cheese has melted beautifully.
- Serve and Enjoy: Once baked, allow it to cool for about 5 minutes before serving. This will help set the dish for easy serving.
Best ways to enjoy it
There are plenty of creative ways to serve Doritos Cheesy Chicken Casserole! For a fun twist, consider garnishing with fresh cilantro or serving with slices of avocado for a creamy addition. It pairs well with a light salad or steamed veggies on the side, balancing out the richness of the casserole. For a complete meal, try serving it with some cornbread or garlic bread!
Storage and reheating tips
If you end up with leftovers (which is rare because it’s so delicious), it’s important to store them properly. Allow the casserole to cool completely, then cover it with plastic wrap or transfer it to an airtight container. It can be stored in the refrigerator for up to 3-4 days. For longer storage, you can freeze the casserole by wrapping it tightly in foil; it’ll stay fresh for about 2-3 months.
When you’re ready to reheat, pop it in the oven at 350°F (175°C) until it’s hot all the way through, or microwave individual portions for quick meals on busy days. Always ensure leftovers are heated to an internal temperature of 165°F (74°C) for safe consumption.
Tips for success
Here are some helpful cooking tips to elevate your Doritos Cheesy Chicken Casserole:
- Shredded Chicken: If you’re in a hurry, use store-bought rotisserie chicken. It adds flavor and saves you time.
- Dairy-Free Options: Substitute the sour cream with a dairy-free version or Greek yogurt for a lighter touch.
- Crispy Topping: For an extra crunchy layer, consider adding crushed tortilla chips or extra Doritos on top in the last 5 minutes of baking.
- Flavor Variations: Don’t hesitate to add spices like paprika or cayenne for a bit of heat or mix in some black beans for added texture.
Creative twists
This casserole is incredibly versatile, so feel free to put your spin on it! For a Tex-Mex flavor, add some taco seasoning or diced jalapeños. Swap the chicken for ground beef or turkey if you prefer, and consider adding bell peppers or corn for extra color and nutrition. You can also make a lighter version using cauliflower rice instead of chicken for a scrumptious vegetarian option!
FAQs
What is the prep time for this casserole?
Prep time is approximately 15-20 minutes, and baking requires an additional 25-30 minutes.
Can I use different kinds of chips?
Absolutely! While nacho cheese Doritos are fantastic, you can experiment with other chips like Cool Ranch or even Fritos for a fun twist.
How can I make this dish gluten-free?
To make this casserole gluten-free, choose gluten-free Doritos and ensure that the cream of chicken soup is also gluten-free.
This Doritos Cheesy Chicken Casserole is the perfect blend of flavors and textures, making it not just another meal, but a family favorite in the making! Enjoy every cheesy, crunchy bite!