
When it comes to comfort food, few desserts can rival the indulgence of a gooey brownie pie. This rich and fudgy delight combines the best qualities of a brownie with the ease of a pie, making it a staple for any occasion. Whenever I make this treat, I’m reminded of cozy evenings spent with friends, the air thick with laughter and the intoxicating aroma of chocolate wafting through the kitchen. Whether you’re hosting a gathering or just treating yourself, this recipe never fails to impress.
Why You’ll Love This Dish
What makes this gooey brownie pie so irresistible? For starters, it’s a crowd-pleaser. The combination of chocolate and buttery crunch, enhanced with optional walnuts, creates a unique texture that satisfies any sweet tooth. It’s easy and quick to whip up, making it ideal for busy weeknights or surprise guests. Plus, the gooey center adds a delightful surprise that keeps everyone coming back for seconds. Bake it for birthdays, holidays, or just because: any time is a good time for gooey brownie pie!
"This was such a hit at our gathering! The gooey center and rich chocolate flavor made it the star of the dessert table." – Happy Baker
Step-by-Step Overview
If you’re ready to indulge in this decadent dessert, you’re in for a treat. The making process is straightforward and requires minimal fuss, which is always a plus for busy bakers. You’ll begin by mixing the wet ingredients before gently folding in the dry ones. Finally, the piece de resistance: pouring the rich batter into your pie dish and watching it transform into a gooey masterpiece in the oven. Let’s jump into what you’ll need!
Gather These Items
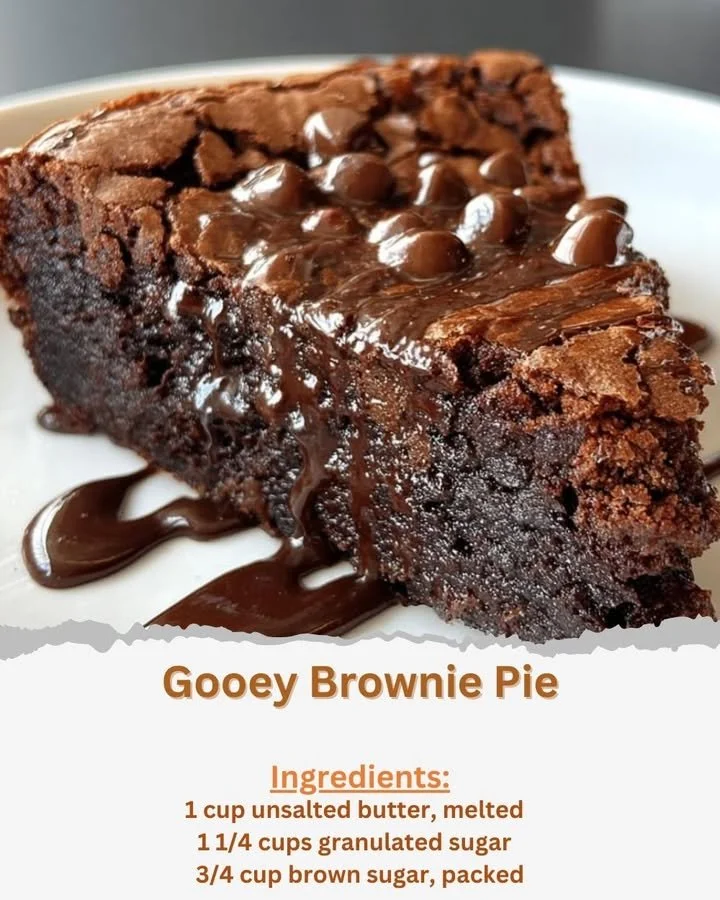
To create this delightful gooey brownie pie, you’ll need the following ingredients:
- 1 cup unsalted butter, melted
- 1 1/4 cups granulated sugar
- 3/4 cup brown sugar, packed
- 3 large eggs
- 2 teaspoons vanilla extract
- 1 cup all-purpose flour
- 3/4 cup unsweetened cocoa powder
- 1/2 teaspoon salt
- 1/2 teaspoon baking powder
- 1 cup semi-sweet chocolate chips
- 1/2 cup chopped walnuts (optional)
Now that you’re all set with the ingredients, let’s dive into the instructions!
