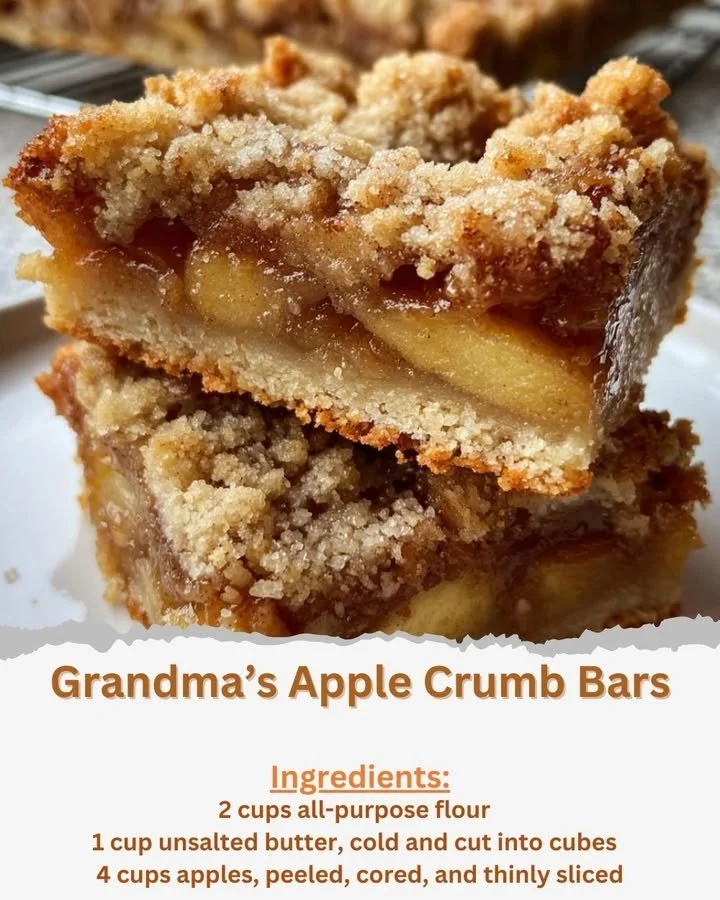
Directions to follow
Ready to get baking? Follow these straightforward steps for perfect Apple Crumb Bars:
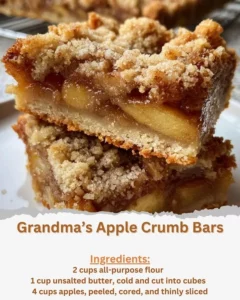
- Preheat your oven to 350°F (175°C). Grease a 9×13 inch baking pan or line it with parchment paper for easy removal.
- In a large bowl, combine flour, granulated sugar, baking powder, and salt. Cut in the cold butter using a pastry cutter or your fingers until the mixture resembles coarse crumbs.
- Set aside about 1 1/2 cups of this crumb mixture for the topping.
- Press the remaining crumb mixture evenly into the bottom of the prepared pan to form the crust.
- In a separate bowl, toss the sliced apples with brown sugar, cinnamon, lemon juice, and cornstarch until they’re well coated.
- Spread the apple mixture evenly over the crust.
- Sprinkle the reserved crumb mixture evenly over the apples.
- Bake for 45-50 minutes or until the topping is golden brown and the apples are tender.
- Allow the bars to cool completely before cutting into squares.
Prep Time: 20 minutes | Cooking Time: 50 minutes | Total Time: 1 hour 10 minutes
Best ways to enjoy it
Once your Apple Crumb Bars are cooled and ready to serve, consider these delightful ways to enjoy them:
- Serve them warm with a scoop of vanilla ice cream on top for a heavenly indulgence.
- Pair your bars with a dollop of whipped cream and a sprinkle of cinnamon for an elegant finish.
- For a cozy brunch, slice them into smaller pieces and serve alongside coffee or tea.
How to store
To keep your Grandma’s Apple Crumb Bars fresh, store them in an airtight container at room temperature for up to three days. If you want to keep them longer, they can be kept in the refrigerator for up to a week. To freeze, wrap the bars tightly in plastic wrap and then foiling to prevent freezer burn. They’ll last for about three months—perfect for making ahead!
Helpful cooking tips
For the best results with your Apple Crumb Bars, keep these tips in mind:
- Use a pastry cutter or your fingers to incorporate the butter into the dry ingredients; this helps to create that desired crumbly texture.
- Don’t skimp on the cooling time! Allowing the bars to set ensures cleaner cuts and enhances the flavors.
- Feel free to adjust the spices according to your preference—add nutmeg or cloves for a unique twist.
Creative twists
Want to switch things up? Here are a few variations to try:
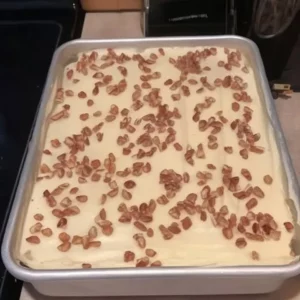
- Add nuts, like chopped walnuts or pecans, for a crunchy texture over the apple filling.
- Swap in different fruits such as pears or berries for a seasonal adaptation.
- For a gluten-free option, you can substitute all-purpose flour with a gluten-free blend.

Your questions answered
Can I use other types of sugar?
Absolutely! You can substitute granulated sugar with coconut sugar or even maple syrup for a healthier option, but be mindful of the moisture content from liquid sweeteners.
What’s the best way to tell when the bars are done?
The bars are done when the topping turns golden brown and the apple filling is bubbling. A toothpick inserted in the center should come out clean or with just a few moist crumbs.
Can I make these bars ahead of time?
Yes! You can prepare the bars a day or two in advance. Just store them covered, and they will remain fresh and delicious.
With these tips and tricks in hand, you’re now ready to bring a taste of nostalgia into your kitchen with Grandma’s Apple Crumb Bars. Happy baking!