Step-by-step instructions
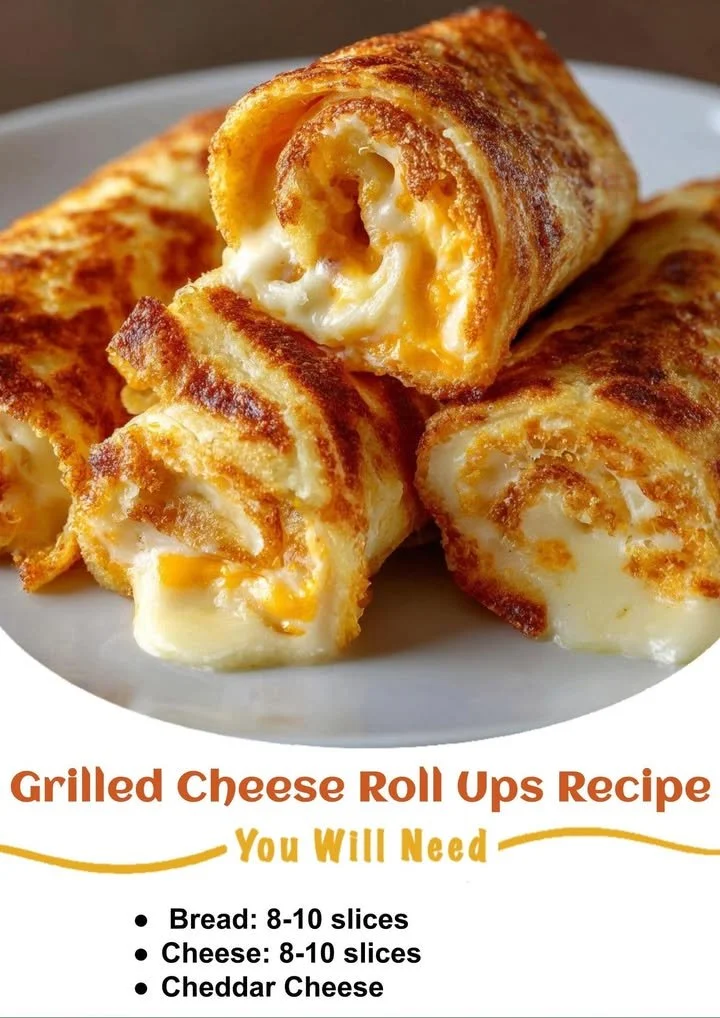
- Start by flattening each slice of bread using a rolling pin. You want them nice and thin.
- Place a slice of cheese on top of each flattened slice.
- Roll the bread tightly around the cheese, enclosing it completely.
- Heat a skillet over medium heat and add a little butter for that perfect golden crust.
- Place the roll-ups seam side down in the skillet. Cook until they are golden brown and the cheese has melted, turning them occasionally to get an even crisp.
- Once cooked, serve warm for optimal gooeyness!
Best ways to enjoy it
When it comes to serving Grilled Cheese Roll Ups, the options are as limitless as your creativity! You can pair them with a side of marinara sauce for dipping, which gives a fun twist reminiscent of mozzarella sticks. For a fresh contrast, consider serving a light salad or raw veggie sticks alongside.
You can also present these roll-ups on a skewer for a fun appetizer display at parties. Don’t forget a drizzle of your favorite dipping sauce or a sprinkle of herbs for an extra touch!
Storage and reheating tips
If you happen to have leftovers (though that’s rare!), storing them correctly will help maintain their texture. Keep them in an airtight container in the refrigerator for up to 2 days. To reheat, simply place them back in the skillet over medium heat for a few minutes until they’re warm and crispy again.
For longer-term storage, you can freeze the roll-ups. Wrap them individually in plastic wrap and place them in a freezer-safe bag. They can last for up to a month. Just remember to fully cook them before freezing for the best results later!
Helpful cooking tips
To elevate your Grilled Cheese Roll Ups, always select quality cheese that melts beautifully—think about using a blend of cheeses for depth of flavor. If you want a bit of crunch, add a sprinkle of garlic powder or onion powder to the butter before cooking. Another chef’s secret? Using a pressing spatula while they cook helps achieve that perfect golden crust.
Creative twists
Once you’ve mastered the basic Grilled Cheese Roll Ups, feel free to get adventurous! Experiment with different fillings such as ham, sautéed mushrooms, or roasted peppers. You can also switch up the bread—try whole grain or sourdough for added flavor. What about adding a pinch of fresh herbs or spices in the cheese for an exciting kick?
Your questions answered
How long does it take to prepare Grilled Cheese Roll Ups?
From start to finish, you can expect to spend about 20 minutes prepping and cooking these roll-ups.
Can I use different types of cheese?
Absolutely! Feel free to mix and match cheeses based on your preferences. Just make sure they melt well.
Are there any dietary modifications I can make?
Yes! To make this recipe gluten-free, you can opt for gluten-free bread. For a dairy-free option, there are various plant-based cheeses available that melt nicely.
What’s the best way to serve these to kids?
Kids love fun shapes! After rolling, you could slice them into bite-sized pieces or use cookie cutters to create fun shapes before cooking. They also enjoy dipping them into sauces!
With this guide, you’re ready to make delicious Grilled Cheese Roll Ups that satisfy and delight! Whether for a quick meal, a snack, or a party treat, these rolls have got it all. Enjoy!