Step-by-step instructions
Step 1: Make the Crust
Preheat your oven to 325°F (165°C). In a medium bowl, mix the crushed wafers (or graham crackers), granulated sugar, and melted butter until it resembles wet sand. Press this mixture firmly into the bottom of a 9-inch springform pan and spread it evenly. Bake for 10 minutes and then let it cool.
Step 2: Prepare the Cheesecake Filling
In a large bowl, beat the softened cream cheese and granulated sugar together until smooth and creamy. Add the eggs one at a time, mixing well after each addition. Incorporate the sour cream, heavy cream, vanilla extract, and banana extract (if using). Once combined, pour the cheesecake filling over the cooled crust, smoothing the top with a spatula.
Step 3: Bake the Cheesecake
Wrap the bottom of the springform pan with foil, and place it in a large roasting pan. Carefully pour hot water into the roasting pan until it reaches halfway up the sides of the springform pan. Bake for 55–65 minutes, or until the center is slightly jiggly. Turn off the oven and crack the door slightly, allowing the cheesecake to cool for 1 hour inside. Remove from the water bath and refrigerate for at least 6 hours, preferably overnight.
Step 4: Add the Banana Pudding Layer
To prepare the banana pudding, whisk the pudding mix with cold milk and let it sit for 5 minutes to thicken. Spread the pudding evenly over the chilled cheesecake and top with a layer of sliced bananas.
Step 5: Whip the Cream and Assemble
In a large bowl, whip the heavy cream together with the powdered sugar and vanilla extract until stiff peaks form. Spread or pipe the whipped cream over the banana pudding layer.
Step 6: Garnish and Serve
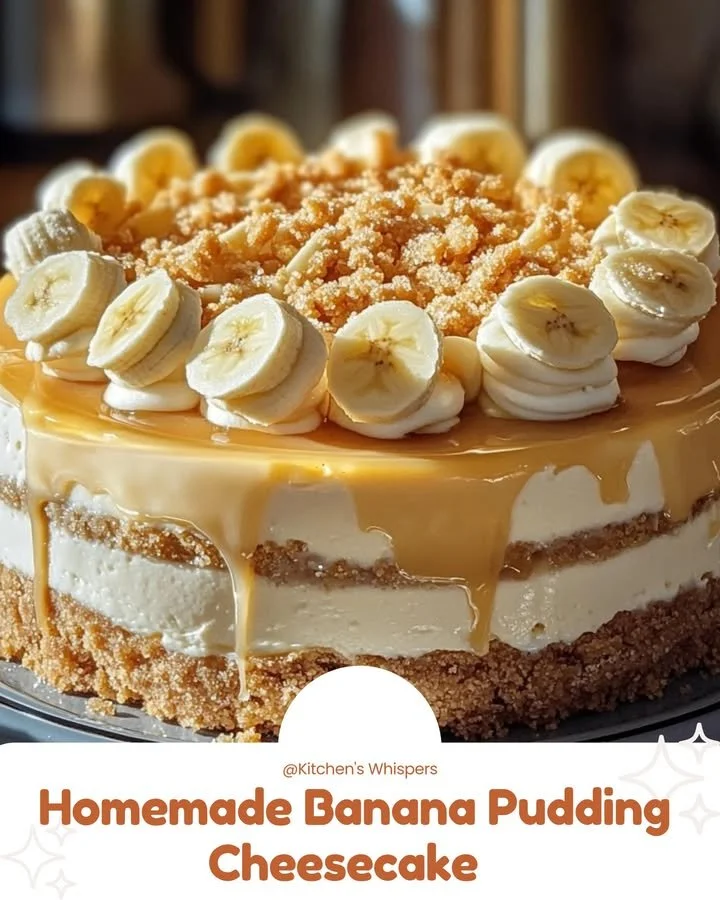
Finish with additional vanilla wafers, crushed cookies, or banana slices for garnish. Slice, serve, and enjoy your creamy and decadent Banana Pudding Cheesecake!
Best ways to enjoy it
The best way to serve your Homemade Banana Pudding Cheesecake is chilled, straight from the refrigerator. For an extra touch, consider a light drizzle of caramel or a sprinkle of crushed cookies on top. This dessert is also delightful when paired with a cup of coffee or a glass of milk for a perfect afternoon treat.
Keeping leftovers fresh
To store your Banana Pudding Cheesecake, cover it tightly with plastic wrap or aluminum foil and keep it in the refrigerator. It will remain fresh for up to 5 days. If you’re hoping to store it for a longer period, you can freeze individual slices. Just make sure to wrap them securely to prevent freezer burn.
Pro chef tips
- Room temperature ingredients: Ensure your cream cheese and eggs are at room temperature for a smoother batter.
- Avoid cracks: Don’t overmix the cheesecake batter, and ensure you cool it gradually to help avoid cracks on the surface.
- Banana freshness: Slice the bananas just before adding to your cheesecake to keep them fresh and prevent browning.
Creative twists
Feel free to get creative! You can experiment with different flavor extracts, such as coconut or almond, to add a unique twist to your cheesecake. If you’re looking for a lighter version, consider using Greek yogurt in place of sour cream or cream cheese. For a festive touch, try adding a layer of whipped cream cheese frosting over your pudding layer.
Common questions
How long does it take to prepare this cheesecake?
The preparation time for this cheesecake is about 30 minutes, but remember to allow at least 6 hours for chilling.
Can I use other flavors of pudding?
Absolutely! Vanilla or chocolate pudding can be delightful alternatives depending on your taste preference.
How do I prevent my cheesecake from cracking during baking?
To prevent cracks, make sure to mix the batter gently and avoid overbaking. Gradually cooling in the oven also helps maintain the structure.
This Homemade Banana Pudding Cheesecake is not only an indulgent treat, but it’s also an experience that brings together the flavors of nostalgia and sophistication in every creamy bite. Give it a try for your next occasion—you won’t regret it!