Step-by-step Instructions
Now that we have our ingredients, let’s follow these straightforward steps to create your cheesecake.
Step 1: Make the Crust
Preheat your oven to 325°F (160°C). In a mixing bowl, blend the graham cracker crumbs, sugar, and melted butter until it resembles wet sand. Press this mixture into the bottom of a 9-inch springform pan and bake for 8-10 minutes. Allow it to cool.
Step 2: Prepare the Cheesecake Filling
In a large bowl, beat the softened cream cheese and sugar until smooth. Next, add the eggs one at a time, mixing well after each. Stir in the vanilla extract, sour cream, and strawberry puree. If you’d like a touch of pink, add a few drops of food coloring. Pour this creamy mixture over the cooled crust and smooth the top.
Step 3: Bake the Cheesecake
Bake for 45-50 minutes until the edges are set, but the center still jiggles slightly. After baking, turn off the oven and let the cheesecake cool inside for an hour. Refrigerate for at least four hours, or ideally overnight.
Step 4: Add the Topping
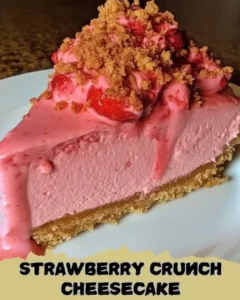
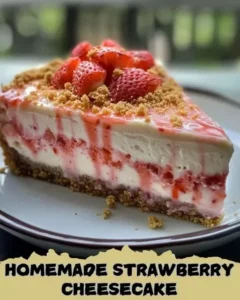
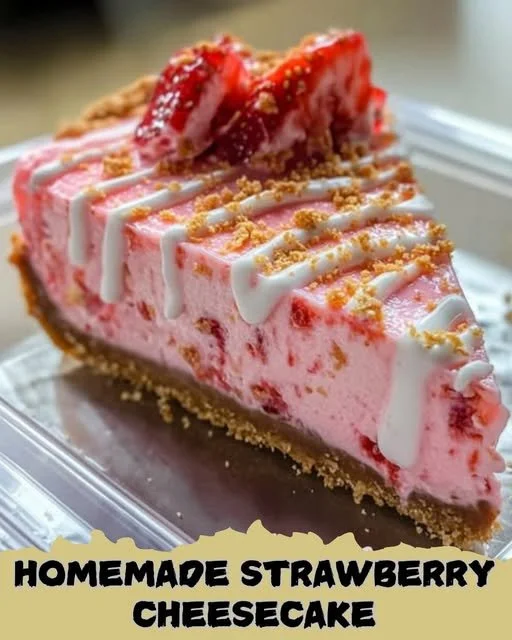
To make the glaze, mix powdered sugar and milk until smooth. Drizzle it over the chilled cheesecake and sprinkle the top with crushed strawberry crumbs for added texture.
Step 5: Slice and Enjoy!
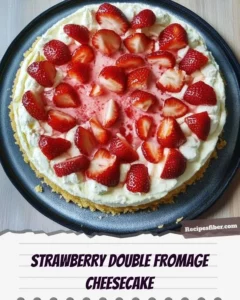
It’s time to slice that gorgeous cheesecake! Serve it chilled and relish the creamy, strawberry goodness.
Best Ways to Enjoy It
When it comes to serving your Homemade Strawberry Cheesecake, creativity is key! Consider these ideas:
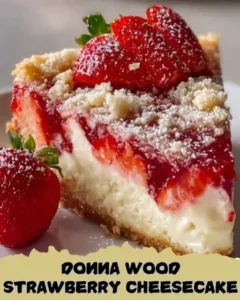
- Plating: Serve slices on elegant dessert plates with fresh strawberries on the side for garnish.
- Pairings: This cheesecake pairs beautifully with a dollop of whipped cream or a scoop of vanilla ice cream.
- Beverages: Complement your dessert with a glass of chilled rosé or a refreshing iced tea.
Storage and Reheating Tips
To keep your Homemade Strawberry Cheesecake fresh, store any leftovers in the refrigerator, tightly covered with plastic wrap or in an airtight container. It should last for about 5 days. If you want to save it for longer, you can freeze slices. Wrap them individually in plastic wrap and foil, and they’ll be good for up to a month.
Make sure to let the cheesecake thaw in the refrigerator before serving for the best texture.
Helpful Cooking Tips
Here are a few tips to ensure your cheesecake turns out perfectly every time:
- Room Temperature Ingredients: Make sure your cream cheese and eggs are at room temperature. This helps create a smooth filling without lumps.
- Avoid Cracks: Don’t overbake your cheesecake; a slight jiggle in the center is what you want for a creamy texture.
- Cooling: Let the cheesecake cool slowly in the oven after baking to prevent cracks.
Creative Twists
Looking to mix things up? Here are a few variations you could try:
- Berry Medley: Substitute the strawberry puree for a mix of your favorite berries like blueberries or raspberries.
- Chocolate Drizzle: Add a chocolate ganache topping for a rich twist.
- No-Bake Version: If you prefer a no-bake option, combine cream cheese and whipped cream with fruit purée and set it in the fridge instead of baking.
Frequently Asked Questions
How long does it take to prepare this cheesecake?
The preparation time is about 30 minutes, plus a baking time of 45-50 minutes and cooling time of at least 4 hours.
Can I add a different fruit puree?
Absolutely! You can substitute strawberry puree with other fruits like mango, blueberry, or raspberry.
How do I know when my cheesecake is done?
The edges should be firm while the center should still jiggle slightly—this ensures a creamy texture.
Can I make this cheesecake ahead of time?
Definitely! This cheesecake tastes even better the day after, making it a great make-ahead dessert option.
With all these tips and tricks, you’re now ready to impress everyone with your very own Homemade Strawberry Cheesecake! Enjoy every luscious bite!