

Step-by-step instructions
Let’s dive into the process of creating your own Jamoncillo:
Combine milk and sugar: In a heavy-bottom pot, combine the whole milk and sugar over medium heat. Stir the mixture until the sugar dissolves completely.
Add baking soda: Incorporate the baking soda and mix well; it’s normal for the mixture to foam slightly at this stage.
Cook the mixture: Reduce the heat to medium-low and continue cooking while stirring constantly to avoid burning. This stage will take about 30–35 minutes.
Monitor the thickness: As the mixture thickens and turns a rich caramel color, keep stirring until it begins to pull away from the sides of the pot and achieves a thick, glossy consistency.
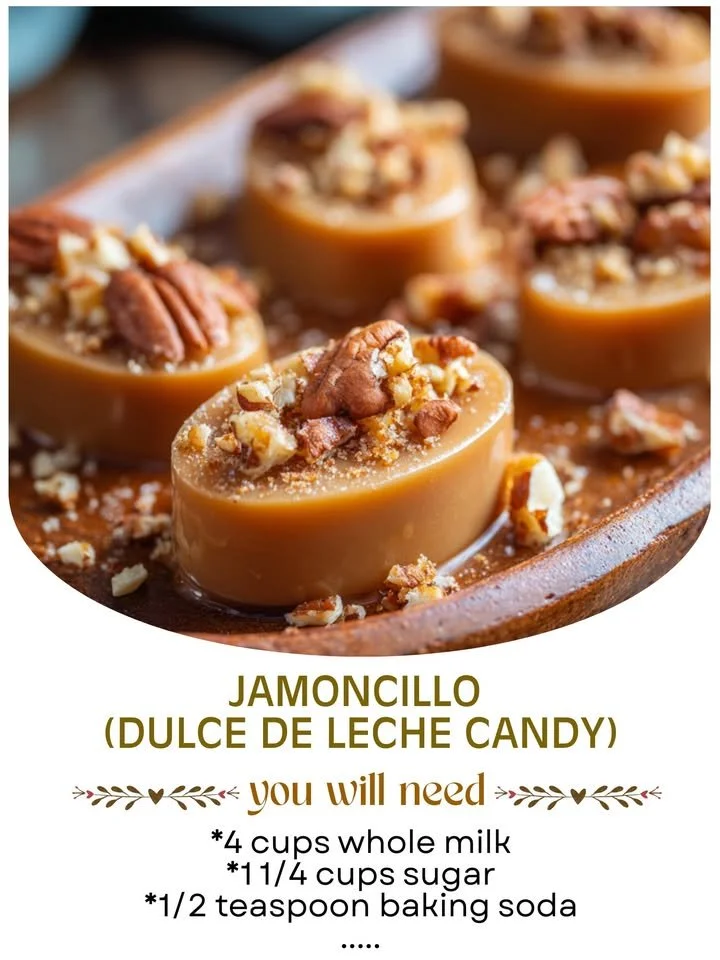
Add flavorings and nuts: Once thickened, stir in the vanilla extract and the chopped nuts if desired.
Beat the mixture: Remove the pot from heat and stir vigorously with a spoon for 1–2 minutes until the mixture loses its shine and thickens further.
Shape the candy: Spoon small portions of the mixture onto a greased plate or tray. Alternatively, spread it into a thin layer and cut into shapes once it’s slightly set.
Let it cool: Allow the candy to cool completely before serving.
Best ways to enjoy it
Serving Jamoncillo opens up a world of delicious possibilities. You can present it as small cubes on a decorative plate, perhaps alongside a fresh fruit salad for contrast. For an indulgent treat, pair it with espresso or a rich cup of hot chocolate. You can also bag them up as delightful gifts for friends and family, a sweet gesture that always brings joy.
How to store
To keep your Jamoncillo fresh, store it in an airtight container at room temperature. Ideally, you want to consume it within a week for the best flavor and texture. If you plan on making a larger batch, you can freeze the candy for up to three months. Just make sure it’s well-wrapped to prevent freezer burn! Remember, as with any homemade candy, storing it properly will help maintain its delightful taste and texture.
Helpful cooking tips
Create the best Jamoncillo with these pro tips:
- Stir constantly while cooking to prevent any sticking or burning at the bottom of the pot.
- Use a heavy-bottomed pot to help evenly distribute heat.
- Patience is crucial; don’t rush the cooking process, as the magic happens gradually.
Creative twists
Once you’ve mastered the traditional recipe, consider experimenting with variations. Try infusing flavors such as espresso, or add spices like cinnamon or nutmeg for warmth. If you’re opting for a nut-free version, you can simply leave out the nuts or replace them with dried fruits for a chewy texture.
Common questions
What is the prep time for Jamoncillo?
The total prep time is about 10-15 minutes, but the cooking itself will take around 30-35 minutes.
Can I substitute the whole milk?
While whole milk creates the best texture, you can also use a full-fat coconut milk for a dairy-free option, though the flavor will be different.
How long does it typically last?
When stored properly in an airtight container, Jamoncillo can last up to a week at room temperature or about three months in the freezer. Just be sure to check for signs of spoilage before serving.
Making this delicious Jamoncillo is not just about satisfying your sweet tooth; it’s an experience that brings back fond memories and creates new ones. So gather your ingredients and enjoy the sweet adventure of making this candy!
