Step-by-step instructions
Follow these simple steps to prepare your Frozen Funfetti Oreo Icebox Cake:
Make the Whipped Cream: In a large mixing bowl, beat the heavy whipping cream together with powdered sugar and vanilla extract using an electric mixer until stiff peaks form.
Dip the Oreos: Pour the milk into a shallow bowl. Take each Funfetti Oreo and dip it briefly in the milk to soften, but don’t let it get soggy!
Layer the Cake: In an 8×8-inch baking dish, start by spreading a thin layer of whipped cream at the bottom. Arrange the dipped Funfetti Oreos on top of the whipped cream, followed by another layer of whipped cream. Continue layering until you run out of cookies and cream, finishing with a creamy top layer.
Add Sprinkles: Generously sprinkle rainbow sprinkles over the top layer of whipped cream, adding that festive touch!
Chill: Cover the baking dish with plastic wrap and refrigerate for at least 4 hours or overnight. This helps the layers set and flavors meld beautifully.
Garnish and Serve: Just before serving, feel free to add some extra Funfetti Oreos and sprinkles on top. Cut into squares and watch it disappear!
Best ways to enjoy it
The No-Bake Funfetti Oreo Icebox Cake is a versatile dessert that can be enjoyed in various ways. Here are a few ideas to enhance your experience:
- Serve chilled slices with a scoop of vanilla ice cream or whipped cream on the side for added indulgence.
- Pair it with fresh fruit like strawberries or raspberries for a refreshing contrast.
- For an adults-only twist, a drizzle of chocolate or caramel sauce can elevate the flavor profile.
Keeping leftovers fresh
To ensure your No-Bake Funfetti Oreo Icebox Cake stays fresh:
- Refrigerate: Store it covered in the fridge for up to 4 days.
- Freeze: You can freeze leftover portions for up to a month. Just slice it beforehand and wrap each piece securely in plastic wrap. Thaw in the refrigerator before enjoying.
Helpful cooking tips
Here are some tips to enhance your icebox cake-making experience:
- Don’t skip the chilling time! Allowing the cake to chill properly improves the flavor and sets the layers.
- Softening Oreos: Don’t soak the Oreos for too long—it’s all about making them just right for that perfect bite.
- Customize! Feel free to get creative with the sprinkles or even add layers of chocolate pudding or fruit to the mix for a twist.
Creative twists
Want to switch things up? Here are some fun variations for your No-Bake Funfetti Oreo Icebox Cake:
- Flavor Swaps: Try using different flavored Oreos, like mint or lemon, for a unique taste.
- Themed Sprinkles: Use seasonal sprinkles to match the occasion—red and green for Christmas or pastel for Easter.
- Gluten-Free Option: Swap out regular Oreos for gluten-free Oreos to cater to dietary restrictions.
Common questions
How much time does it take to prepare this icebox cake?
The total time to prepare the No-Bake Funfetti Oreo Icebox Cake is about 20 minutes, followed by a chilling time of at least 4 hours.
Can I make this dessert ahead of time?
Absolutely! In fact, making it a day in advance allows the flavors to meld beautifully, enhancing the overall taste.
What if I can’t find Funfetti Oreos?
No worries! You can use regular Oreos and add extra rainbow sprinkles to the whipped cream layer for that festive flair.
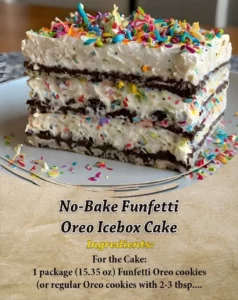
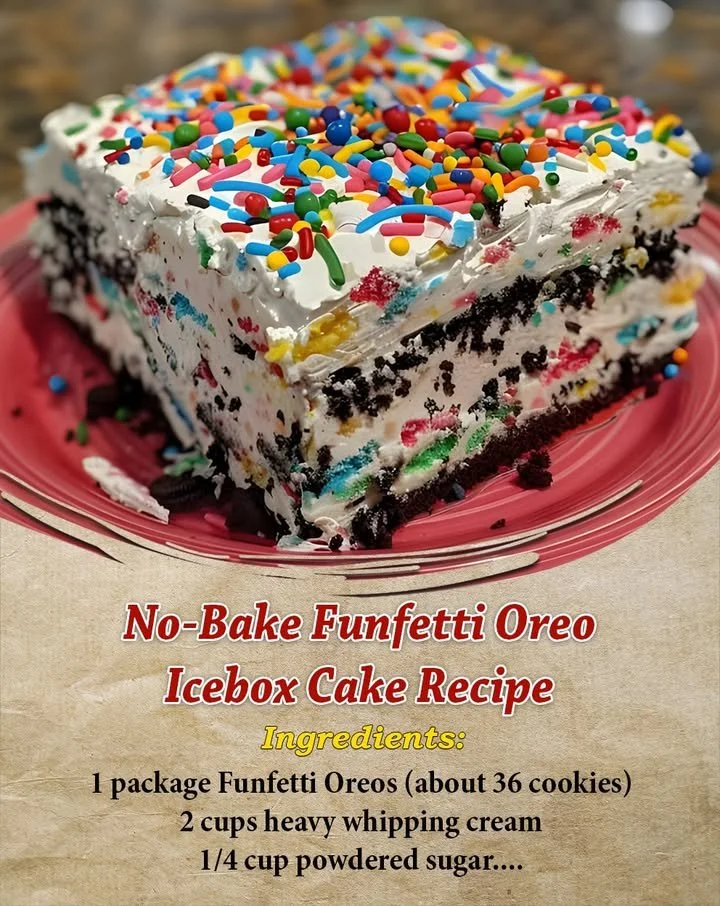
This No-Bake Funfetti Oreo Icebox Cake is not only an eye-catching dessert but also incredibly easy and satisfying to make. Perfect for gatherings, celebrations, or simply as a sweet treat at home, it’s sure to please everyone at the table!