Directions to follow
Now let’s walk through the preparation of these irresistible bars step by step:
- In a large microwave-safe bowl, combine the peanut butter, honey, and butter.
- Heat in the microwave in 30-second intervals, stirring between each, until you achieve a smooth and melted mixture.
- Stir in the vanilla extract and salt until well combined.
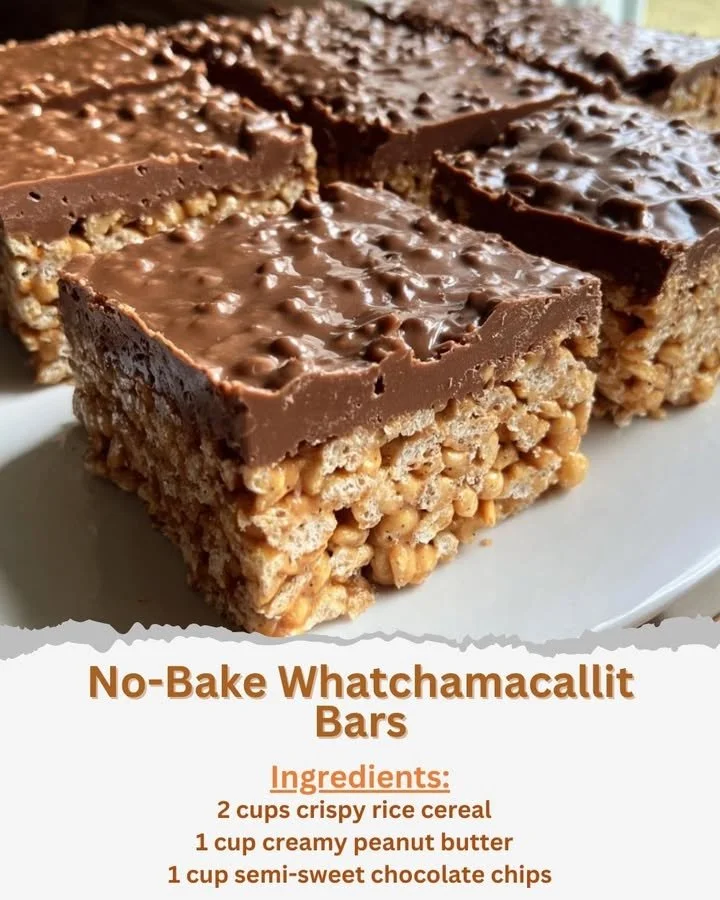
- Gradually add the crispy rice cereal to the peanut butter mixture, folding gently until the cereal is fully coated.
- Press the mixture evenly into a greased 8×8-inch baking dish.
- In a separate microwave-safe bowl, melt the chocolate chips in 30-second intervals, stirring until smooth.
- Pour the melted chocolate over the pressed cereal mixture, spreading it evenly with a spatula.
- Refrigerate for at least 2 hours or until the bars are firm.
- Once set, cut into bars and serve!
Best ways to enjoy it
These No-Bake Whatchamacallit Bars are delightful on their own, but you can also elevate your serving game! Cut them into fun shapes using cookie cutters for a playful presentation. For an upscale touch, serve them drizzled with melted white chocolate or topped with a sprinkle of sea salt. Pair these bars with a glass of cold milk, a hot cup of coffee, or even a scoop of vanilla ice cream for an indulgent dessert.
Keeping leftovers fresh
Storing your No-Bake Whatchamacallit Bars is simple and fuss-free. Just keep them in an airtight container in the refrigerator for up to a week. If you want to save them for a rainy day, the bars can also be frozen! Just wrap them tightly in plastic wrap, then place them in a freezer-safe container. They can last up to three months in the freezer.
Helpful cooking tips
Here are a few tips to ensure your No-Bake Whatchamacallit Bars turn out perfectly:
- Ensure the butter is unsalted to control the saltiness of the bars.
- If you’d like the bars to hold their shape better, let them chill for a longer duration.
- For variety, consider adding chopped nuts or dried fruit into the mixture for added flavor and texture.
- Use a non-stick spray or line your baking dish with parchment paper for easy cleanup!
Creative twists
Feeling adventurous? Here are some fun variations you can try:
- Peanut Butter Swirl: Swirl in some additional crunchy peanut butter on top of the chocolate layer before chilling.
- Chocolate Variations: Swap semi-sweet chocolate chips for milk chocolate or dark chocolate to suit your taste preferences.
- Flavored Rice Cereal: Experiment with different flavor rings of crispy rice cereals or even granola for a different crunch!
- Nutty Delights: Add in some chopped almonds, peanuts, or walnuts for a nutty crunch.
Your questions answered
Q: How long do these bars need to set?
A: For the best results, chill the bars for at least 2 hours so they firm up nicely.
Q: Can I make a nut-free version?
A: Absolutely! You can substitute peanut butter with sunflower seed butter for a tasty nut-free option.
Q: How can I store these bars?
A: Keep your bars in an airtight container in the fridge for up to a week or freeze them for up to three months.
Q: Can I use honey substitutes?
A: Yes! Maple syrup or agave nectar can be used as a sweetener in place of honey if you prefer.
With these helpful insights, there’s no doubt you’ll love whipping up these No-Bake Whatchamacallit Bars. Enjoy the sweet success!