Step-by-step instructions
For the crust:
- In a medium bowl, combine graham cracker crumbs, brown sugar, and melted butter. Mix until well combined.
- Press the mixture into the bottom of a 9-inch springform pan to form a crust.
- Bake at 325°F (160°C) for about 10 minutes. Remove from oven and allow to cool.
For the filling:
- In a large mixing bowl, beat the softened cream cheese until smooth.
- Gradually add sugar and sour cream, mixing until fully incorporated.
- Add eggs one at a time, beating well after each addition. Then mix in vanilla.
- Pour the cheesecake mixture over the cooled crust and smooth the top.
- Bake for 60–70 minutes until the edges are set but the middle is slightly jiggly.
- Let it cool to room temperature, then refrigerate for at least 4 hours (or overnight for the best flavor).
For the topping:
- In a small saucepan, combine the butter, brown sugar, and heavy cream over medium heat. Stir until the mixture is smooth and bubbling, about 2-3 minutes.
- Remove from heat and stir in the vanilla, salt, and chopped pecans.
- Allow to cool slightly before pouring over the chilled cheesecake.
Pro Tip:
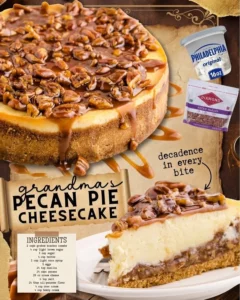
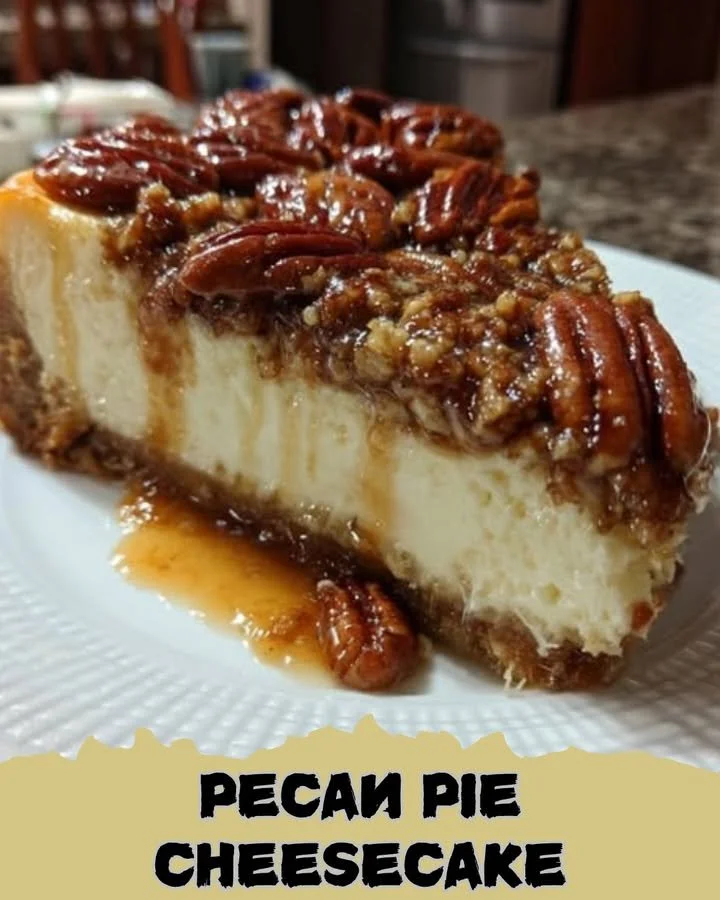
Serve the Pecan Pie Cheesecake cold, topped with fresh whipped cream for an added touch of luxury!
How to serve Pecan Pie Cheesecake
Once your Pecan Pie Cheesecake has chilled and you’ve added the topping, it’s ready to shine! For serving, I recommend slicing it into generous pieces; its richness means a little goes a long way. Pair it with a dollop of freshly whipped cream and perhaps a drizzle of caramel sauce for an extra indulgent treat. A side of fresh berries can add a refreshing contrast to the sweetness, making it a visually appealing plate that prepares guests for an unforgettable dessert experience.
Keeping leftovers fresh
If by chance you have leftovers (though I wouldn’t count on it!), storing Pecan Pie Cheesecake is quite simple. Cover it tightly with plastic wrap or aluminum foil and store it in the refrigerator for up to 5 days. If you want to freeze it, ensure it’s wrapped well to prevent freezer burn; it can last up to 2 months in the freezer. When you’re ready to enjoy it again, simply thaw it in the refrigerator overnight. Just be aware that the pecan topping may lose some of its crunch when frozen, so it’s best added fresh!
Helpful cooking tips
To enhance your Pecan Pie Cheesecake-making experience, consider a few chef’s tips. For the creamiest cheesecake texture, ensure your cream cheese is at room temperature before beating; this helps avoid lumps. When mixing the filling, beat just until combined; overmixing can introduce too much air, which may cause cracks during baking. Lastly, if you notice the cheesecake is browning too quickly, don’t hesitate to cover it loosely with foil during baking to prevent over-browning.
Creative twists
If you’re feeling adventurous, there are several ways to customize this Pecan Pie Cheesecake to make it even more unique. Swap out traditional pecans for salted caramel chips or chocolate chunks to add a new flavor twist. For a seasonal flair, try adding caramelized apples on top in the fall or a hint of maple syrup throughout the filling. You could even make a chocolate version by incorporating cocoa powder into the cheesecake batter for a delightful chocolate-pecan treat!

Your Questions Answered
What is the prep time for Pecan Pie Cheesecake?
Prep time typically takes about 30-40 minutes, with an additional hour for baking and cooling. Don’t forget to factor in chilling time, which should be at least 4 hours or overnight for optimal flavor development!
Can I make this recipe in advance?
Absolutely! Pecan Pie Cheesecake is perfect for making ahead of time. It stores well in the fridge for several days, and the flavors can actually deepen as it sits.
Are there any substitutes for the cream cheese?
You can try using a vegan cream cheese alternative or mascarpone cheese for a different texture. Just remember that any substitutions may alter the overall flavor and creaminess!
By harnessing these tips and insights, you’ll not only create an impressive dessert but also enjoy a rewarding experience in the kitchen. Happy baking!