
Step-by-step instructions
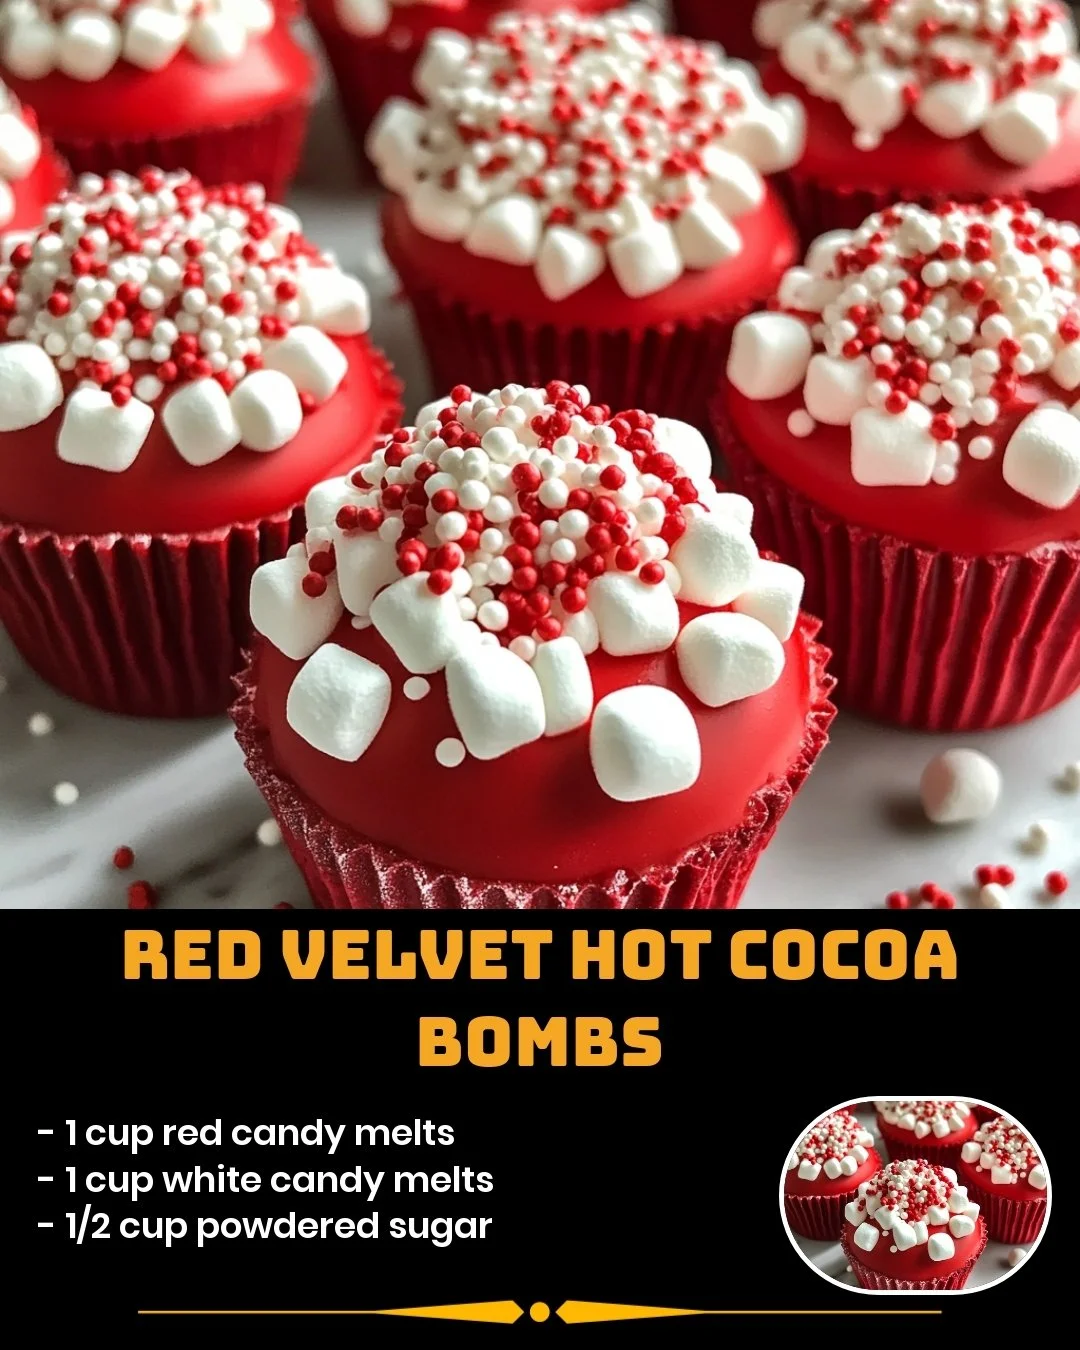
- Begin by melting the red and white candy melts in separate bowls, following the package instructions.
- In a small bowl, whisk together the powdered sugar and cocoa powder until combined.
- Using a spoon, coat the inside of a silicone mold with the melted red candy melts, ensuring a thick layer for support.
- Fill each mold with a spoonful of the cocoa and powdered sugar mixture. Add a sprinkle of mini marshmallows and a few additional sprinkles for fun!
- Top each mold with a layer of the melted white candy melts to seal them.
- Place the molds in the refrigerator for at least 1 hour to set.
- When ready to enjoy, heat a cup of milk and drop in a hot cocoa bomb, stirring until it’s fully melted.
Best ways to enjoy it
Want to elevate your hot cocoa game? First, of course, enjoy it as is—simply pour hot milk over your bomb and watch the magic happen! But for an extra indulgent experience, consider topping your drink with whipped cream, a drizzle of chocolate syrup, or an extra sprinkle of festive sprinkles. Pair it with some freshly baked cookies for a delightful treat!
Storage and reheating tips
If you have any leftovers (which is unlikely!), store your hot cocoa bombs in an airtight container in a cool, dry place for up to 2 weeks. Do not refrigerate as moisture can ruin them. If you need to reheat any leftover hot cocoa (if that’s even possible!), just warm it gently on the stove or in the microwave. When handling, be sure to wash your hands to keep everything sanitary.
Helpful cooking tips
For best results, make sure your silicone mold is clean and dry before adding your melted candy melts. This will help the candy to set properly. If you’re struggling to get a smooth layer, try warming your mold slightly with your hands or a warm, wet cloth before the first layer. And, if you prefer a richer cocoa flavor, feel free to increase the cocoa powder or even add a hint of vanilla extract in with the milk when enjoying!
Creative twists
Looking to switch things up? You can change a few ingredients and still keep the fun going! Swap the red candy melts for dark or milk chocolate for a classic cocoa experience, or try adding a pinch of peppermint extract for a minty twist. Additionally, you could use festive-themed sprinkles like stars or hearts to match holidays, ensuring that every occasion is catered to!
Common questions
How long does it take to prepare and serve?
This entire process, from melting to setting, takes about 1.5 hours, but most of that is hands-off while your cocoa bombs chill in the fridge.
Can I use food coloring instead of candy melts?
While you could theoretically use food coloring to tint white chocolate, it’s much simpler and more effective to use candy melts designed for melting, as they will provide the right texture and flavor.
What if I can’t find candy melts?
You can substitute with white chocolate chips or bars; just make sure to add a bit of shortening or coconut oil while melting to achieve the right consistency for coating your molds.
Creating these Red Velvet Hot Cocoa Bombs is not just about enjoying a delicious drink; it’s about the joy of crafting something special and sharing it with loved ones. Get ready for a delightful experience that warms both heart and soul!
