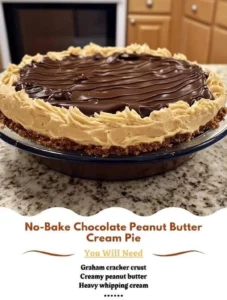
Step-by-step instructions
- In a large mixing bowl, combine the softened cream cheese, granulated sugar, and vanilla extract. Beat until the mixture is smooth and creamy.
- In a separate bowl, whip the heavy cream with powdered sugar until stiff peaks form. Gently fold the whipped cream into the cream cheese mixture until combined, achieving a light and airy filling.
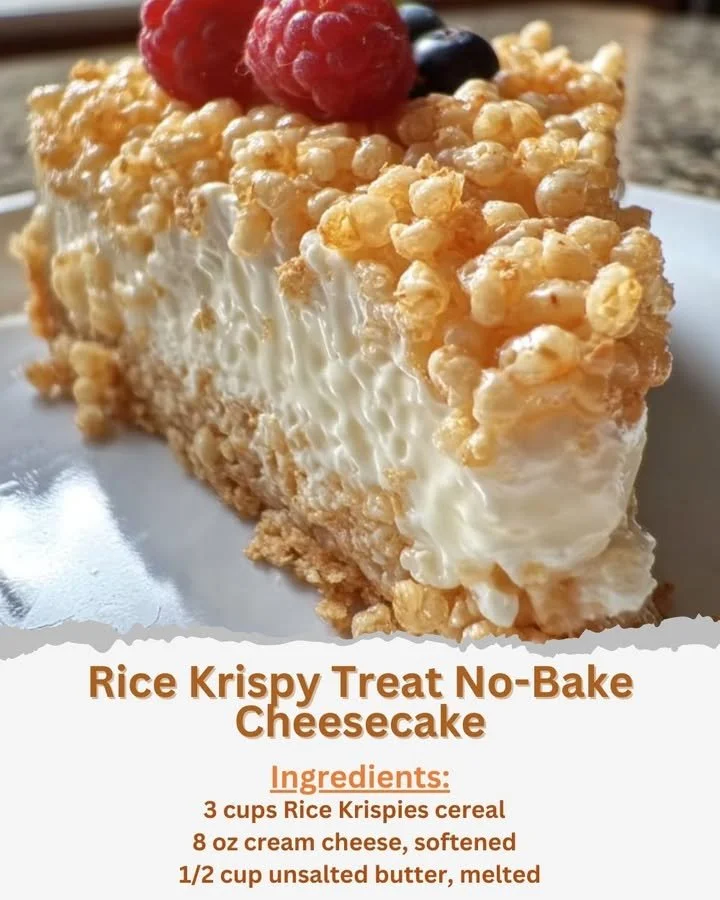
- In a large saucepan over low heat, melt the butter. Once melted, add the mini marshmallows and stir continuously until the marshmallows have melted into a smooth mixture.
- Remove the marshmallow mixture from heat. Quickly stir in the Rice Krispies cereal until all the cereal is evenly coated.
- Press half of the Rice Krispies mixture into the bottom of a greased 9-inch springform pan to form your crust.
- Spread the cream cheese and whipped cream mixture evenly over the layer of crust you just created, ensuring an even distribution.
- Crumble the remaining Rice Krispies mixture over the cheesecake layer, creating a crunchy and delicious topping.
- Refrigerate the cheesecake for at least 4 hours or until it has firmed up.
- Before serving, feel free to garnish with fresh berries or chocolate chips for an extra touch of sweetness.
Best ways to enjoy it
When it comes to serving your Rice Krispy Treat No-Bake Cheesecake, you can let your creativity shine. Slice it into individual portions and serve it on colorful plates. Drizzle with chocolate syrup or a dollop of whipped cream for added flair. Pair it with a side of fresh fruit like strawberries or raspberries to cut through the richness and bring brightness to your dessert table.
The best way to save extras
If you find yourself with leftovers (which can be a rarity), storing them is simple. Keep the cheesecake in the springform pan and wrap it tightly with plastic wrap. It can be stored in the refrigerator for up to 5 days. If you’d like to freeze it, slice it into individual servings and wrap each piece in plastic wrap, then place them in an airtight container for up to 2 months. Just be sure to thaw it in the fridge overnight before serving!
Helpful cooking tips
There are a few pro tips that can elevate your cheesecake even further. First, ensure your cream cheese is at room temperature before mixing; this will help you achieve a smooth filling. When whipping the cream, use a chilled bowl and beaters for optimal results. If you’re short on time, you can make the Rice Krispies crust ahead, storing it in the fridge until you’re ready to assemble the cheesecake.
Creative twists
Looking to shake things up? There are plenty of ways to put your unique spin on this classic. Try adding a layer of lemon curd or chocolate ganache for added flavor. If you’re feeling adventurous, experiment with flavored marshmallows like strawberry or s’mores. You can also swap out the Rice Krispies for other cereals or mix-ins, such as crushed graham crackers or nuts for a different crunch.

Your questions answered
How long does it take to prepare this cheesecake?
You can expect about 30-40 minutes of preparation time, but remember it needs at least 4 hours to chill.
Can I substitute ingredients?
Yes! You can use dairy-free cream cheese and whipped cream for a vegan version, and flavored marshmallows can add an interesting twist to the traditional recipe.
Is it safe to freeze the cheesecake?
Absolutely! Just make sure to slice it into individual portions, wrap them properly, and it can be frozen for up to 2 months. Thaw overnight in the fridge when you’re ready to enjoy.
This Rice Krispy Treat No-Bake Cheesecake is a delightful way to blend nostalgia with indulgence, making it a standout dessert for any occasion!