Step-by-step instructions
Let’s break down the steps to make this delightful cake:
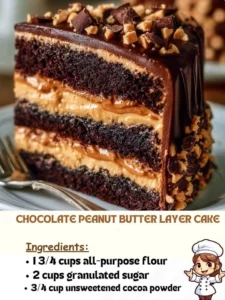
Prepare the Cakes: Start by preheating your oven to 350°F (175°C). Grease and flour three 8-inch round cake pans. In a mixing bowl, combine the flour, granulated sugar, cocoa powder, baking powder, baking soda, and salt. Beat in the buttermilk, vegetable oil, eggs, and vanilla extract. Mix for about 2 minutes until smooth. Gradually stir in the hot water—don’t worry if the batter looks thin! Divide this batter among the prepared pans and bake for 25–30 minutes, or until a toothpick inserted in the center comes out clean. Let them cool in the pans for about 10 minutes before transferring to a wire rack to cool completely.
Make the Caramel: In a saucepan over medium heat, melt the sugar until it turns brown. As it starts to caramelize, add the butter, stirring continuously. Carefully pour in the preheated cream (it will bubble up), then add a pinch of salt and stir until smooth. Allow it to cool to room temperature.
Ganache: In another saucepan, heat the cream until boiling. Pour it over the chocolate chips and let it sit for about 5 minutes. Stir until it’s nice and smooth, and it should thicken slightly.
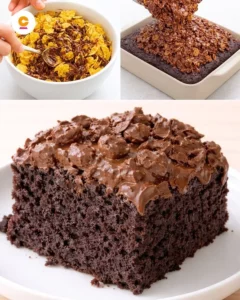
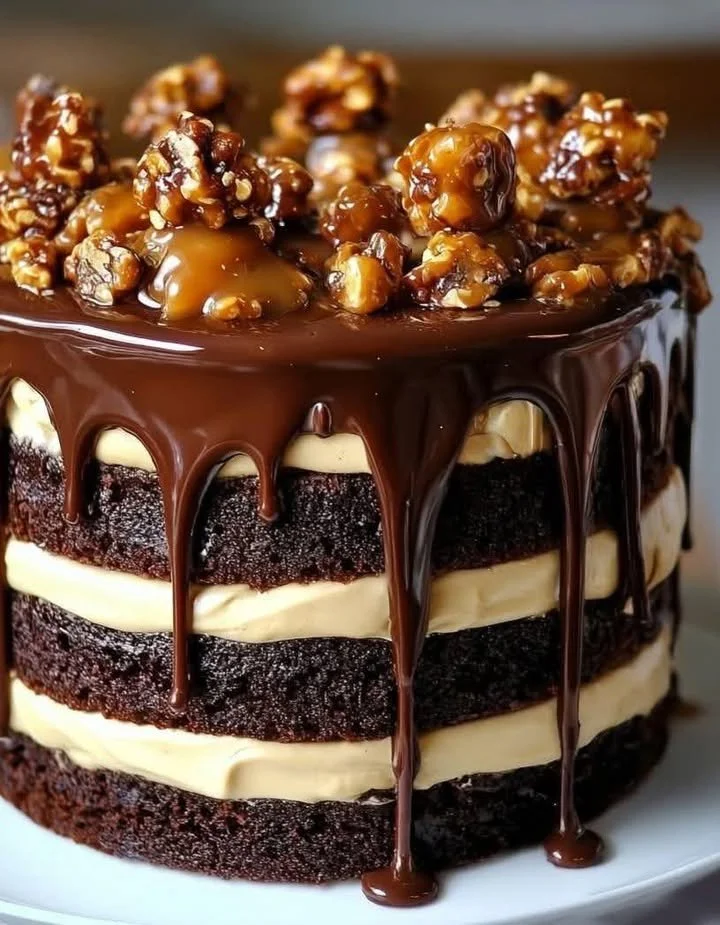
Assemble the Cake: Start with the first layer of cake on a serving plate. Spread some caramel over the top, drizzle with ganache, and sprinkle with chopped walnuts or pecans. Repeat with the second layer. Finally, place the third layer on top.
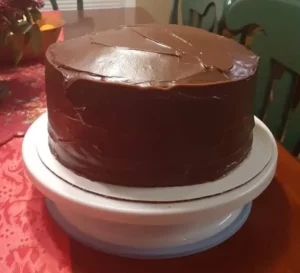
Decorate: Pour the remaining ganache over the top of the cake, allowing it to cascade down the sides. Drizzle more caramel on top and generously sprinkle with walnuts and mini chocolate chips or shavings. Refrigerate for 30 minutes to set before serving.
Best ways to enjoy it
To make the most of your Sticky Chocolate Caramel Turtle Layer Cake, consider serving it with a scoop of vanilla ice cream or a dollop of whipped cream. Fresh berries like raspberries or strawberries can add a lovely fruity tartness that cuts through the richness. For a delightful contrast, a cup of strong coffee pairs beautifully with each sweet slice, ensuring that each bite is balanced.
How to store
After enjoying this cake, you might have some slices left over. To keep your Sticky Chocolate Caramel Turtle Layer Cake fresh, store it in an airtight container in the refrigerator, where it will last for about 3 to 5 days. If you want to store it for a longer period, you can freeze individual slices wrapped tightly in plastic wrap and then placed in a freezer-safe bag. Be sure to consume frozen slices within 2-3 months for the best flavor.
Helpful cooking tips
- Make your caramel in a heavy-bottomed saucepan to help control the heat and prevent burning.
- If your ganache is too thin, whip it with a whisk after cooling for a more stable texture.
- Want to avoid crumbling when slicing? Chill the cake for a bit longer before cutting, as the layers will hold together better.
Creative twists
Feel free to customize this cake by switching up the nuts—pecans can be replaced with almonds or hazelnuts for a different flavor profile. Add a hint of espresso powder to your cake batter or ganache for a touch of mocha. For those wanting a bit of a twist, it can be fun to incorporate caramel-flavored candy or even a layer of peanut butter for an added layer of flavor.
Common questions
What’s the prep time?
For this cake, you’ll need about 30 minutes for prep and around an hour for baking.
Can I use substitutes for buttermilk?
Yes! You can easily make your own by adding 1 tablespoon of vinegar or lemon juice to a cup of milk and letting it sit for five minutes.
How do I keep the cake fresh?
Store leftover cake in the refrigerator, wrapped well in an airtight container, for up to 5 days. You can freeze it for up to 3 months for longer storage, ensuring it’s tightly wrapped to avoid freezer burn.
Baking this Sticky Chocolate Caramel Turtle Layer Cake can become a cherished tradition, and each bite will remind you of the love you put into making it. Enjoy the delicious journey!