Step-by-step instructions
Make the Cheesecake Filling: In a mixing bowl, beat the softened cream cheese, powdered sugar, and vanilla extract until smooth. Add in the heavy cream and whip until fluffy. Gently fold in the diced strawberries, then refrigerate the mixture for 10–15 minutes to let the flavors meld.
Assemble the Chimichangas: Lay out the flour tortillas on a flat surface. Spoon about 1/2 cup of the cheesecake filling into the center of each tortilla, shaping it into a log. Fold in the sides of the tortilla and roll it tightly like a burrito. Brush the edge with the egg wash (mix egg with water) to seal securely.
Fry or Air-Fry: Heat about 1–2 inches of oil in a deep pan to 350°F. Carefully place the chimichangas seam-side down in the hot oil and fry for 1–2 minutes on each side until they turn golden brown. Drain on paper towels to remove excess oil. If using an air fryer, spray the chimichangas lightly with oil and air-fry at 400°F for 8–10 minutes, flipping halfway through.
Coat in Cinnamon Sugar: In a bowl, mix the granulated sugar and cinnamon. While the chimichangas are still warm, roll them in the cinnamon sugar mixture until fully coated.
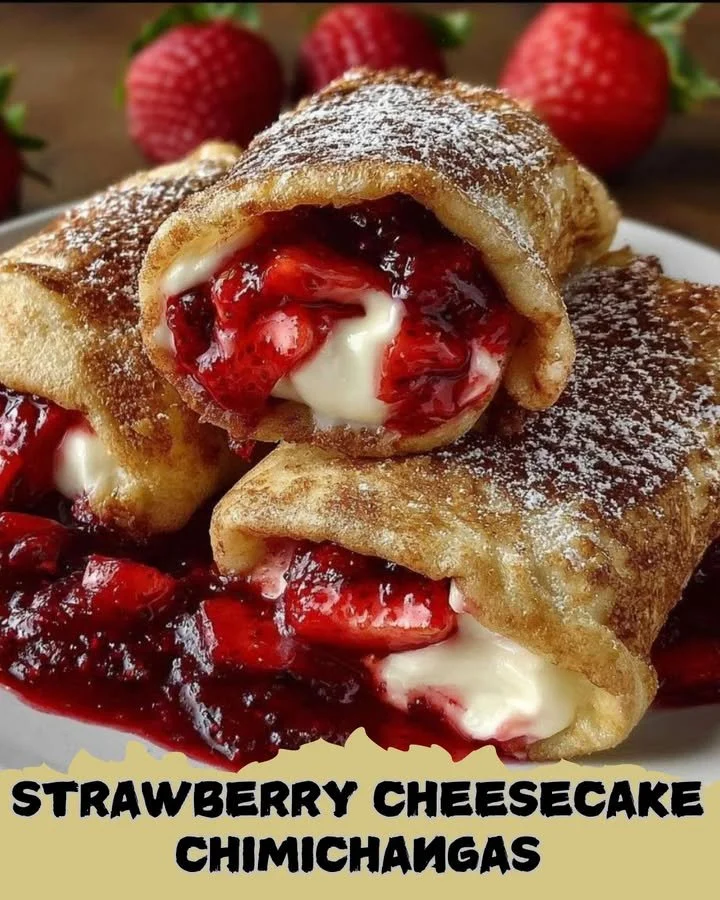
Garnish & Serve: For an extra touch, you can drizzle with strawberry sauce, whipped cream, and additional strawberries. Dust with powdered sugar and drizzle with chocolate if desired. Serve warm for a crispy, gooey delight!
Best ways to enjoy it
When it comes to serving these Strawberry Cheesecake Chimichangas, the possibilities are endless! For an impressive presentation, stack a few chimichangas on a dessert plate, topped with a generous helping of strawberry sauce and a dollop of whipped cream. If you want to elevate the experience, consider pairing them with a side of vanilla ice cream or a fresh fruit salad. Each bite will be a delightful treat!
Keeping leftovers fresh
If you have leftover chimichangas—which is rare, as they tend to disappear quickly—you can store them in an airtight container in the fridge for up to 3 days. For longer storage, consider freezing them. Just make sure they’re fully cooled before wrapping tightly in plastic wrap and placing in a freezer-safe bag. When you’re ready to enjoy them again, reheat in the oven for the best results!
Helpful cooking tips
- Cream cheese texture: Ensure your cream cheese is softened; this will make it easier to blend smoothly. You can leave it out at room temperature for about 30 minutes before you start.
- Non-frying method: If you prefer a healthier version, the air fryer works beautifully! Just make sure to spray a little oil to help them achieve that golden color.
- Fresh strawberries: Use ripe strawberries for maximum flavor. Feel free to swap in other fruits like blueberries or raspberries for variations.
Creative twists
- Flavor variations: Get creative with different flavored cream cheese, such as strawberry or chocolate, for a fun twist on the traditional cheesecake filling.
- Dietary swaps: For a gluten-free version, use gluten-free tortillas and adjust the ingredients as needed for dietary preferences.
- Fancy toppings: Experiment with different toppings, like crushed graham crackers for a more traditional cheesecake vibe or drizzling with caramel sauce for a decadent touch.
FAQs
How long do I need to refrigerate the cheesecake filling?
It’s best to refrigerate the filling for about 10–15 minutes, which helps the flavors blend beautifully.
Can I use frozen strawberries?
Yes! Just thaw and drain excess liquid from frozen strawberries before mixing them into the filling.
What’s the best way to reheat leftovers?
For the crispiest results, reheat in a conventional oven at 350°F until warmed through. Avoid microwaving, as this may make them soggy.